
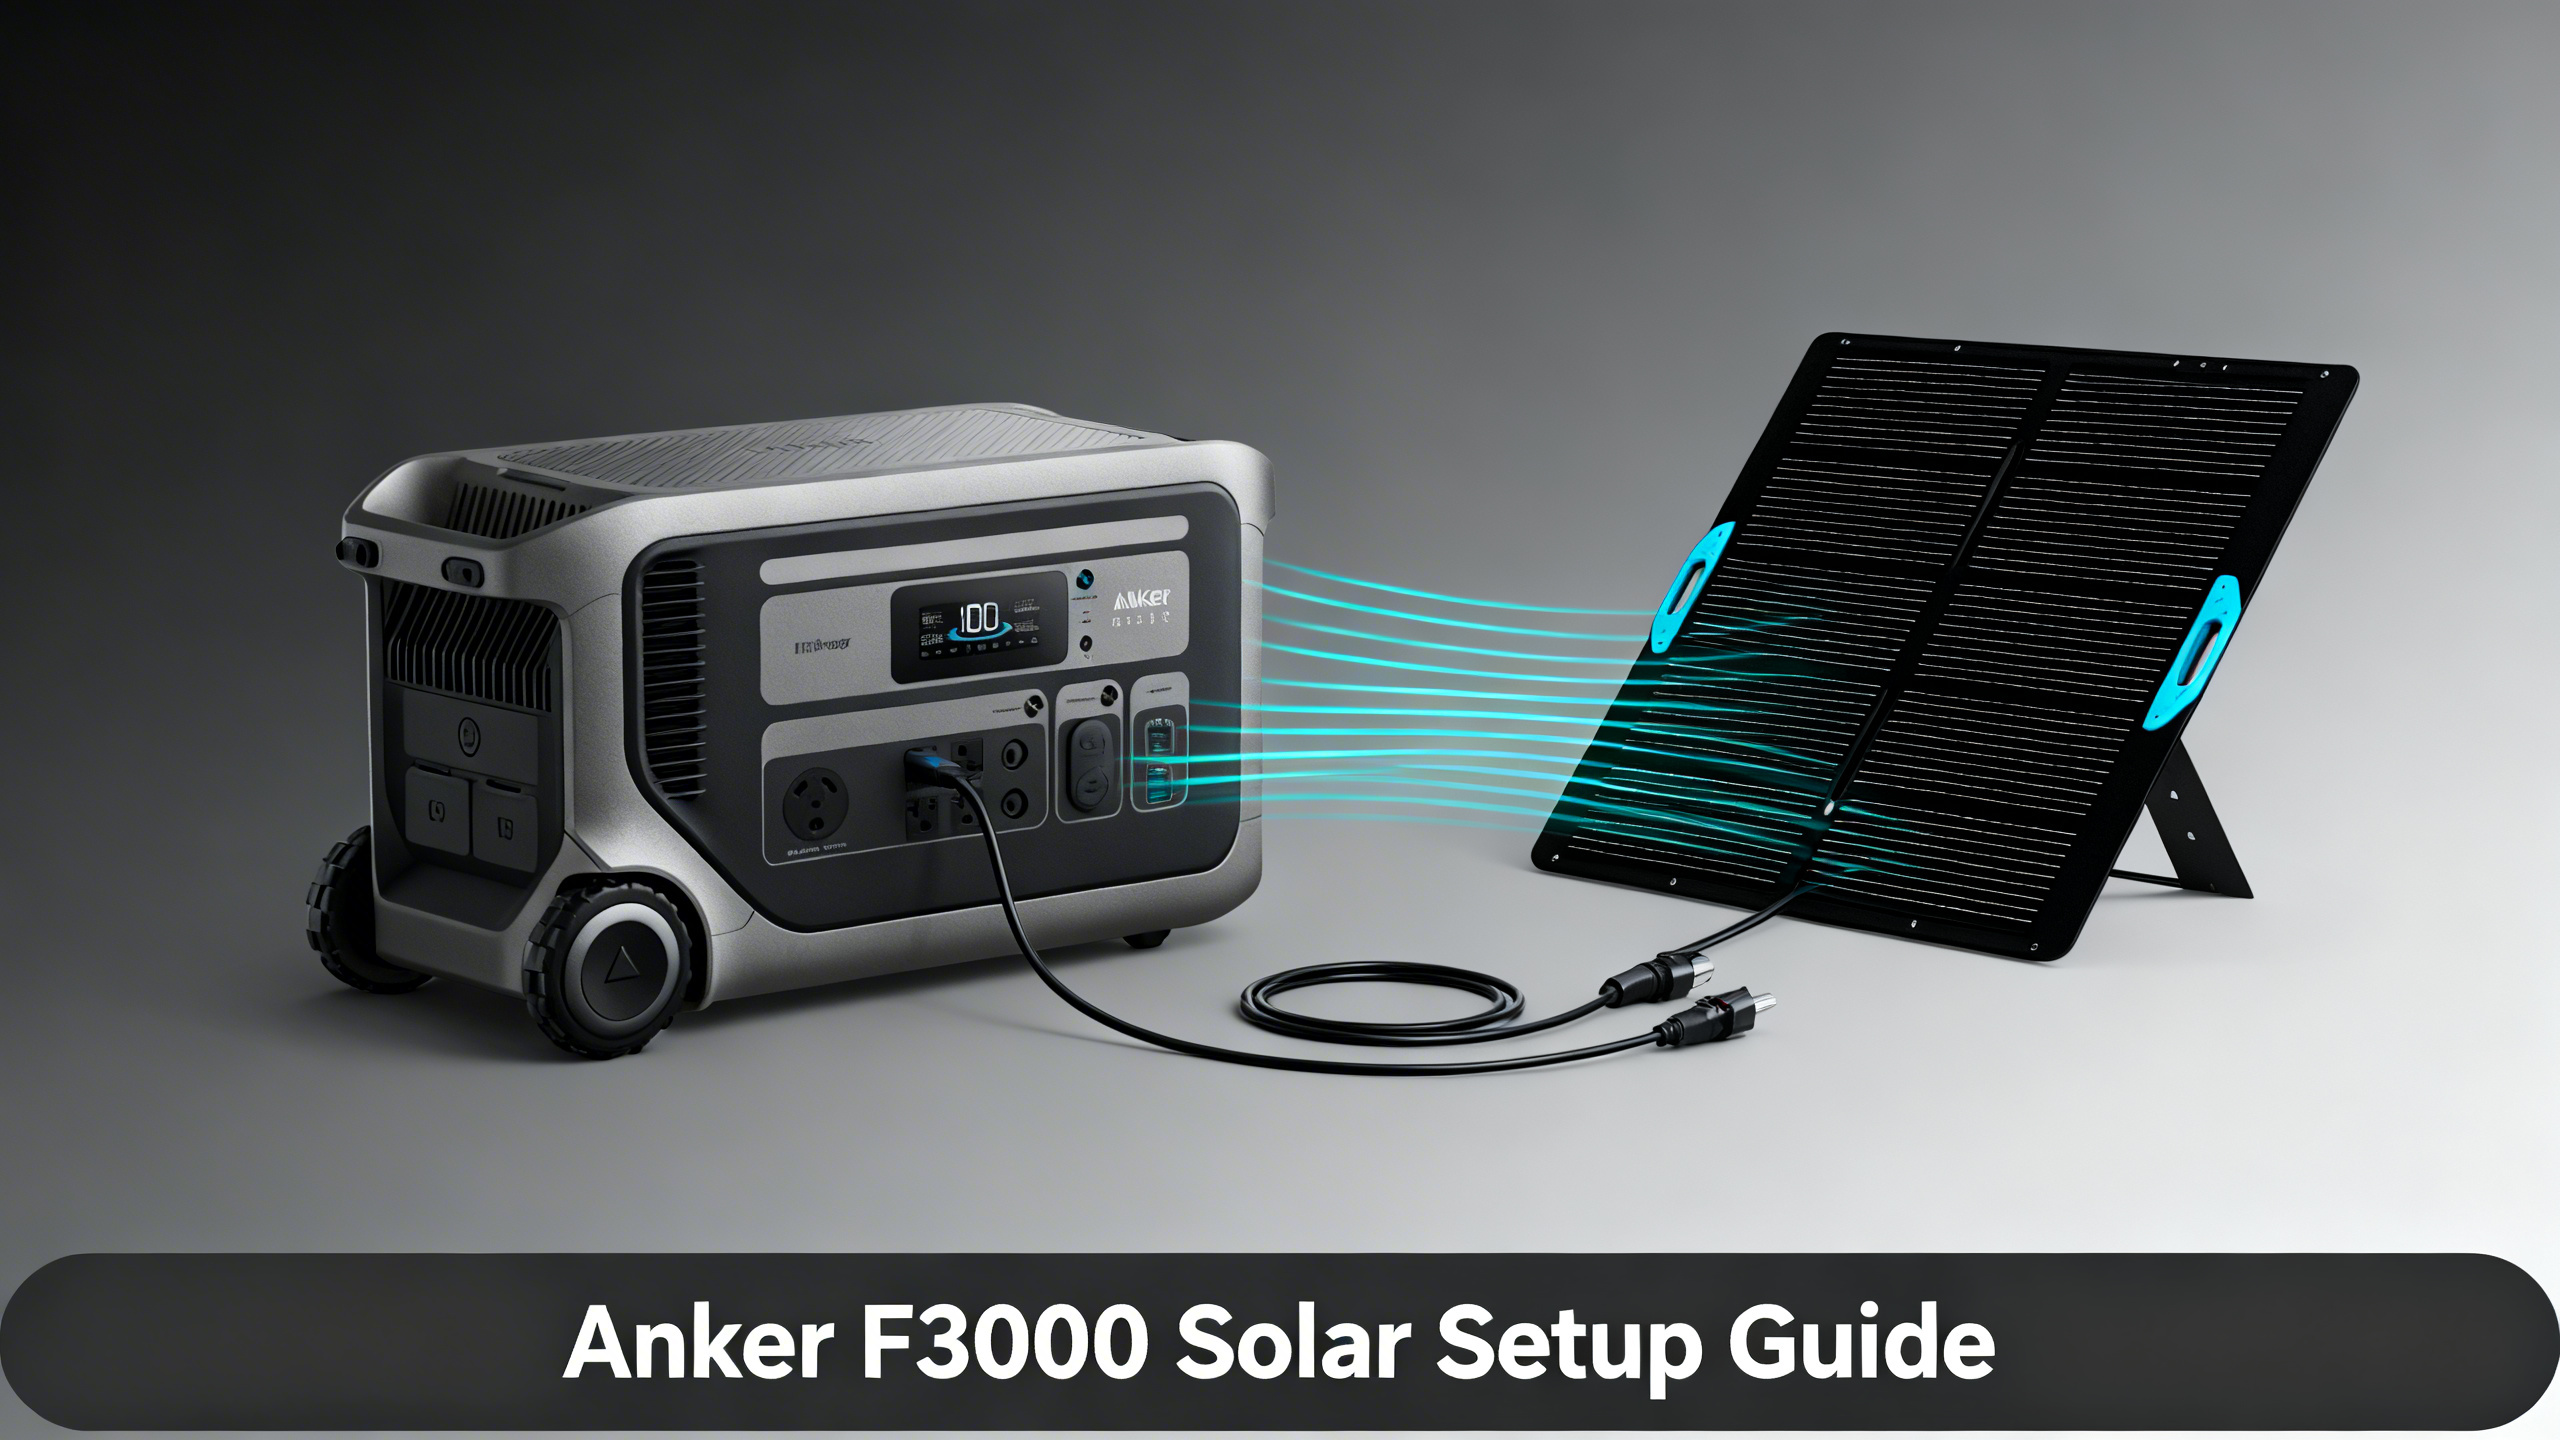
You have a 3,072Wh power station in hand and a few solar panels ready to go. The setup looks straightforward until you notice two separate solar input ports on the F3000’s side panel, each with different voltage ratings and connectors. Most solar setup guides treat a power station as a single-port device. The F3000 isn’t. Its dual MPPT architecture splits solar capacity across two independent controllers, and understanding that split is the difference between a 400W charge rate and a 2,400W one.
For a complete breakdown of ports, specs, and real-world performance, see our F3000 full review; this guide focuses specifically on squeezing every watt from its solar inputs. The steps below cover port identification, panel configuration selection, series and parallel wiring, and verification, with troubleshooting for the most common issues encountered when maximizing this system.

Anker SOLIX F3000 Portable Power Station
$1,399.99
- 3,072Wh capacity, expandable to 24kWh
- 2,400W dual MPPT solar input (60V/800W + 165V/1,600W)
- 120V output (240V with two units), 3,600W pass-through charging
Own a Anker SOLIX? Get the owner's checklist.
Storage, cold weather, solar limits and battery health for your Anker SOLIX power station, in one email. After that, about one email a week with setup guides, plus a heads-up when compatible batteries or panels go on sale.
Unsubscribe in one click. We may earn a commission when you buy through our links, at no extra cost to you. Privacy Policy
What You’ll Need: Equipment Checklist
Required Equipment
Before diving into wiring configurations, check our overview of Anker SOLIX solar generator kits to understand which panel-and-station combos are available as pre-configured bundles. For this guide, you’ll need the Anker SOLIX F3000 as the base unit.
Compatible panels include the PS400 (400W portable), the 440W Rigid panel, and the PS200 (200W). For multi-panel configurations, you’ll also need MC4 Y-branch connectors for parallel wiring on Port 1, and the high-voltage solar cable for series strings on Port 2 (included with some bundles, sold separately in others).

F3000 Dual MPPT Solar Architecture
MPPT Port 1: Low Voltage
Input range: 11–60V, 17A max
Max input: 800W
Ideal: 1–2x PS400 in parallel
MPPT Port 2: High Voltage
Input range: 11–165V, 17A max
Max input: 1,600W
Ideal: 2x PS400 in series, or up to 4x 440W rigid panels in series
Combined Max Solar Input: 2,400W
(800W Port 1 + 1,600W Port 2)
Estimated Time and Difficulty
The full setup takes 20 to 40 minutes on the first attempt, depending on how many panels you’re wiring. Difficulty level is intermediate: no special tools required, but understanding which port receives which wiring configuration matters. A sunny day is recommended so you can verify input wattage in real time as you connect each port.
Shopping List
| Item | Purpose | Est. Cost |
|---|---|---|
| Anker SOLIX F3000 | Main power station, dual MPPT host | $1,399.99 |
| Anker SOLIX PS400 (x1–4) | Portable solar input, 400W each | $599.99 each (Oct. 2026) |
| MC4 Y-Branch Connectors (x2) | Parallel wiring for Port 1 | $15–25 |
| High-Voltage Solar Cable (Port 2) | Required for 165V series strings | Included or $35 separately |
Before You Start: Safety and Preparation
Safety Precautions
Four safety points apply before you connect anything. First, never connect panels to the F3000 while the unit is actively charging from another source: disconnect AC or generator input before plugging in solar. Second, always verify MC4 polarity before snapping connectors together, positive to positive and negative to negative. Third, keep all connections dry and off wet surfaces.
Fourth, and most important for this setup: Port 2 accepts up to 165V open circuit. The 48V listed for the PS400 is its operating voltage, not its open-circuit voltage (Voc), which is 57.6V. Two PS400 panels wired in series produce about 115V Voc, well within spec. Three produce about 173V, which exceeds Anker’s 165V limit. Limit PS400 series strings on Port 2 to two panels.
⚠️ Important: Always calculate your series string’s open-circuit voltage before connecting to Port 2. Multiply the number of panels by the panel’s Voc rating, not its operating voltage. For PS400 panels: 2 panels max (2 x 57.6V = 115.2V, within the 165V limit). Three panels reach 172.8V. Anker’s manual simply says to keep the total within 165V, so don’t rely on a protection circuit to catch a wiring mistake.
Own a Anker SOLIX? Get the owner's checklist.
Storage, cold weather, solar limits and battery health for your Anker SOLIX power station, in one email. After that, about one email a week with setup guides, plus a heads-up when compatible batteries or panels go on sale.
Unsubscribe in one click. We may earn a commission when you buy through our links, at no extra cost to you. Privacy Policy
Step-by-Step Solar Setup Instructions
Step 1: Identify the Two MPPT Input Ports
On the F3000’s side panel, you’ll find two distinct solar input connectors. Port 1 uses a lower-voltage input rated for 11–60V with an 800W ceiling. Port 2 uses the high-voltage input rated for 11–165V with a 1,600W ceiling. The two ports use different connector types, so physically mismatching them isn’t possible. What matters is wiring your panels to the correct port for the configuration you’re using.
You’ll know the identification step is complete when you can visually distinguish Port 1 (lower-voltage, smaller wattage budget) from Port 2 (higher-voltage, larger wattage budget) without referring to the manual.


Step 2: Choose Your Panel Configuration
The F3000 supports four practical panel configurations, ranging from a single 400W panel to a full dual-port, mixed-panel setup approaching 2,400W. The right config depends on how many panels you have, your charge speed target, and whether you’re working with portable panels, rigid panels, or both.
Recommended Panel Configurations for the F3000
☀️
Config A
1x PS400
400W
Port 1 only
☀️☀️
Config B
2x PS400 (1 per port)
800W
Both ports active
☀️☀️☀️
Config C: Best Value
4x PS400 (2 per port)
1,600W
Both ports active
⚡
Config D: Max
440W Rigid x4 (series P2) + 2x PS400 (P1)
~2,400W
Both ports maxed
The F3000’s high-voltage MPPT port accepts up to 165V open-circuit, which makes it ideal for pairing with 440W rigid panels in series for rooftop or ground-mount installations. For portable setups, Configuration C (two PS400s in series on Port 2 plus two in parallel on Port 1) reaches up to 1,600W and represents the practical sweet spot for most users.
| Config | Panels | Port Used | Max Input | Charge Time (0–80%) |
|---|---|---|---|---|
| A | 1x PS400 | Port 1 | ~400W | ~7–9 hrs |
| B | 2x PS400 (1 per port) | Both | ~800W | ~3.5–4.5 hrs |
| C | 2x PS400 series (P2) + 2x PS400 parallel (P1) | Both | ~1,600W | ~1.8–2.2 hrs |
| D | 440W Rigid x4 series (P2) + 2x PS400 parallel (P1) | Both | ~2,400W | ~1.2–1.5 hrs |
Charge times are estimates in hours of strong, direct sun, not hours of daylight. The short end assumes the panels deliver close to their rating; the long end assumes about 70% of rated output, which is common for portable panels in real conditions.
Step 3: Wire Multiple Panels (Series vs Parallel)
Our deeper dive on series vs parallel solar wiring explains the full electrical trade-offs; here’s what applies specifically to the F3000’s two-port architecture.
Port 1 (Parallel wiring): Connect two PS400 panels in parallel using MC4 Y-branch connectors (positive to positive, negative to negative). Parallel wiring keeps voltage the same while adding current. Two PS400 panels in parallel stay under Port 1’s 60V limit (parallel wiring doesn’t add voltage, and each PS400 has a 57.6V Voc) while delivering up to 800W combined. Stop at two: Port 1 is limited to 17A and 800W.
Port 2 (Series wiring): Connect panels end-to-end, positive of one to negative of the next. Series wiring adds voltage while current stays constant. Two PS400 panels in series produce about 115V Voc and up to 800W, within Port 2’s 165V limit. A third PS400 would push the string to about 173V, so to use more of Port 2’s 1,600W you need lower-voltage panels: four 440W rigid panels (39.16V Voc each) in series add up to 156.6V. The high-voltage cable required for Port 2 connects to this series string’s output leads.
⚠️ Common mistake: Wiring three PS400 panels in series on Port 2. Multiplying by the panel’s 48V operating voltage gives 144V, which looks safe, but the open-circuit voltage is 57.6V per panel, so the string actually reaches about 173V, above the 165V limit. Limit Port 2 series strings to 2x PS400 panels maximum.
Step 4: Connect and Verify
Connect Port 1 first. The F3000’s LCD display should show a “Solar In” reading within a few seconds in direct sunlight. Note the wattage. A single PS400 in good sun should register between 280W and 380W; lower readings indicate partial shading or an angle issue.
Connect Port 2 next using the high-voltage cable. The display updates to show both MPPT port contributions. For Configuration C (two PS400s in series on Port 2 plus two in parallel on Port 1), combined solar input should read between 1,100W and 1,500W in peak sun conditions.

You’ll know the setup is correct when both ports show active solar input simultaneously and the combined wattage corresponds to your chosen configuration’s expected range. If one port reads 0W, disconnect and reconnect that port’s cable before troubleshooting further.
Verification and Testing

What the F3000 Can Power (3,072Wh)
❄️
Refrigerator
~42 hrs
190W avg draw
💡
LED Lighting (10x)
~125 hrs
~25W draw
💻
Laptop + Monitor
~30 hrs
100W avg draw
🌬️
Window AC (5,000 BTU)
~6 hrs
500W avg draw
Use the performance table below to cross-check your live display readings. If numbers fall consistently below the expected range, work through the “If Below Range” column before assuming a panel or port issue.
| Metric | Expected Range | If Below Range |
|---|---|---|
| Port 1 Input (1x PS400) | 280–380W (full sun) | Check angle, reconnect MC4 |
| Port 2 Input (2x PS400 series) | 560–760W (full sun) | Check series string polarity |
| Charge Time (0–80%, Config C) | 1.8–2.2 hrs (peak sun) | Check cloud cover or shading |
Troubleshooting Common Issues
Issue 1: Port 2 Shows 0W Despite Panels Connected
Disconnect Port 2 and check the string before anything else. If it contains three or more PS400 panels, or any panels whose open-circuit voltages add up to more than 165V, it’s outside Anker’s specs: rewire it before you reconnect (two PS400s maximum). If the string is within spec, check the polarity of every series link and the high-voltage cable’s connection, then make sure all panels are in direct sun.
Issue 2: Port 1 Input Lower Than Expected
Two causes account for most cases. The first is a faulty MC4 Y-branch connection: disconnect and reconnect, ensuring both positive and both negative branches are fully seated. The second is partial shading on one panel pulling down the entire parallel string. In a parallel configuration, a shaded panel acts as a load rather than a source. Test each PS400 independently by plugging it directly into Port 1 to isolate the underperforming unit.
Issue 3: LCD Shows Solar Input But Battery Not Increasing
This is often pass-through operation rather than a fault. If appliances are running from the AC outputs during charging, total solar input may be equal to or less than the active load, resulting in a flat battery percentage. Disconnect all AC loads temporarily during the initial verification, confirm the net input registers as a battery percentage increase, then reconnect your devices.
Best Panel Configurations
Not sure which Anker SOLIX panel format fits your setup? Our guide on panel options compared covers PS100, PS200, PS400, 625, and 440W Rigid side by side.
Recommended Setup
F3000 + 2x PS400
$1,399.99 F3000 alone; panels $599.99 each (Oct. 2026)
Anker SOLIX Solar Generator Kits
All pre-configured F3000 bundle options compared side by side.
Pro Tips and Optimization

Tip 1: Match Port 2 to the Right Panels
Port 2 holds two-thirds of the F3000’s solar capacity (1,600W of the 2,400W total), but how much of it you can use depends on your panels’ voltage. With PS400s, Port 2 tops out at two panels in series, or 800W, the same as Port 1. If you only own portable PS400s, split them two and two across both ports. To fill Port 2’s full 1,600W, you need lower-voltage panels: four 440W rigid panels in series (39.16V open-circuit each, 156.6V in total) stay within the 165V limit.
Tip 2: Pair with the Power Saver Kit for Grid Arbitrage

The Bi-Directional Inlet Box (part of the Power Saver Kit, sold separately) enables the F3000 to store off-peak grid electricity and discharge during high-rate peak hours. Real-world solar efficiency data from NREL indicates that combining time-of-use arbitrage with solar input can reduce effective grid draw by 40 to 60 percent in sun-rich regions. The F3000 also supports 3,600W pass-through charging, which means appliances keep running while the battery replenishes from both solar and grid sources simultaneously.
Tip 3: Leave Voltage Headroom for Cold Mornings
A panel’s open-circuit voltage goes up as its cells get colder, so a series string is at its highest voltage on a cold, clear morning, not at noon. The Voc figures on spec sheets are measured with the cells at 25°C (77°F). That’s one more reason to keep PS400 strings to two panels on Port 2, and to check your panels’ temperature data before running a string that sits close to 165V on paper, such as four 440W rigid panels (156.6V), through freezing weather.
Tip 4: The Double Voltage Hub for 240V Output
Pairing two F3000 units via the Double Voltage Hub ($289.99 as of October 2026) enables 240V/30A/7,200W output, practical for large RV setups or whole-home essential circuits during grid outages. Each unit brings its own 2,400W solar input capacity, so a two-station system with full panel configs can sustain up to 4,800W of continuous solar charging. That’s a meaningful self-sufficiency threshold for multi-day emergency scenarios.
Series vs Parallel Solar Wiring Guide
Detailed breakdown of the electrical trade-offs for every panel configuration.
What to Do Next
Once your solar setup is verified and running, the next steps depend on your use case. For a full breakdown of the F3000’s output ports, battery specs, and expandability options, the F3000 full review covers everything in depth. If you’re planning a fixed or semi-permanent installation, the guide on 440W rigid panels is worth reviewing before purchasing additional capacity: rigid panels deliver higher efficiency per square foot and can handle Port 2’s full 1,600W ceiling with fewer units than portable foldables.
Frequently Asked Questions
Can I use third-party solar panels with the Anker SOLIX F3000?
Yes. Port 1 accepts standard MC4 connections within an 11–60V range. Port 2 uses a proprietary high-voltage input (up to 165V OC) that requires an Anker-compatible cable or a verified adapter. Any panels whose open-circuit voltage and watt output fall within those port specifications can work, including third-party brands. Verify Voc for your specific panels before wiring a series string to Port 2, and keep the string’s total within 165V.
What is the maximum number of PS400 panels I can connect to the F3000?
Four: two in parallel on Port 1 (staying within the 60V and 800W limits) and two in series on Port 2 (about 115V Voc, within the 165V limit). A third PS400 in the Port 2 string would push it to about 173V Voc, above Anker’s limit. To fill Port 2’s 1,600W, pair Port 1’s two PS400s with four 440W rigid panels in series on Port 2 (156.6V Voc).
Can I charge the F3000 with solar and a generator at the same time?
Yes. The F3000 supports simultaneous multi-source charging. Combining a 1,600W generator input via the 120V adapter with up to 800W from two PS400s in parallel on Port 1 allows both sources to contribute at once. Published specs confirm that combining fuel generator and solar inputs can reach the 6,000W hyper-fast recharge ceiling when an expansion battery is connected to the system.
How long does it take to fully charge the F3000 with solar only?
Based on the 3,072Wh capacity, Configuration C (four PS400s, up to 1,600W of solar input) charges the F3000 from 0 to 80 percent in about 1.8 to 2.2 hours of strong sun. A full 0 to 100 percent charge takes about 2.2 to 2.7 hours at that input rate. Configuration A (single PS400, 400W) extends 0-to-80-percent time to about 7 to 9 hours. With both ports maxed at 2,400W (Configuration D), Anker quotes a full charge in about 1.5 hours under optimal sunlight.
Does the F3000 support MPPT optimization for each port independently?
Published specifications confirm that the dual MPPT design tracks each port’s maximum power point independently. This means two different panel types (for example, a PS400 on Port 1 and 440W rigid panels in series on Port 2) can each operate at their individual optimal voltage without interference. The F3000’s display reflects both MPPT values simultaneously.
Is the Anker SOLIX F3000 eligible for the 30% federal investment tax credit?
Not for a home installation in 2026. Anker’s product listing still mentions a 30% ITC, but the federal Residential Clean Energy Credit for home batteries ended for systems installed after December 31, 2025. Businesses may have access to commercial credits under different rules; ask a tax professional.
Conclusion
The Anker SOLIX F3000’s dual MPPT architecture is one of its most practical differentiators, and it only delivers full value when both ports are wired correctly. Configuration A gets you started with a single PS400. Configuration B activates both controllers. Configuration C splits four PS400s across both ports for up to 1,600W, covering the needs of most residential backup and extended off-grid scenarios. Configuration D adds four 440W rigid panels in series on Port 2 to reach the 2,400W ceiling for users who need maximum recharge speed.
The voltage limit on Port 2 (165V OC maximum) is the one constraint that shapes every high-capacity setup. Keep PS400 series strings to two panels, add up the open-circuit voltage of any other string before you plug it in, leave headroom for cold mornings, and verify display readings after connecting each port. With both ports maxed out (Configuration D), the F3000 goes from 0 to 80 percent in about 1.2 to 1.5 hours of strong sun.
Anker SOLIX F3000
$1,399.99
Best portable for whole-home solar backup
Price checked automatically on Anker SOLIX’s US store. Free shipping available
Originally published: April 6, 2026