
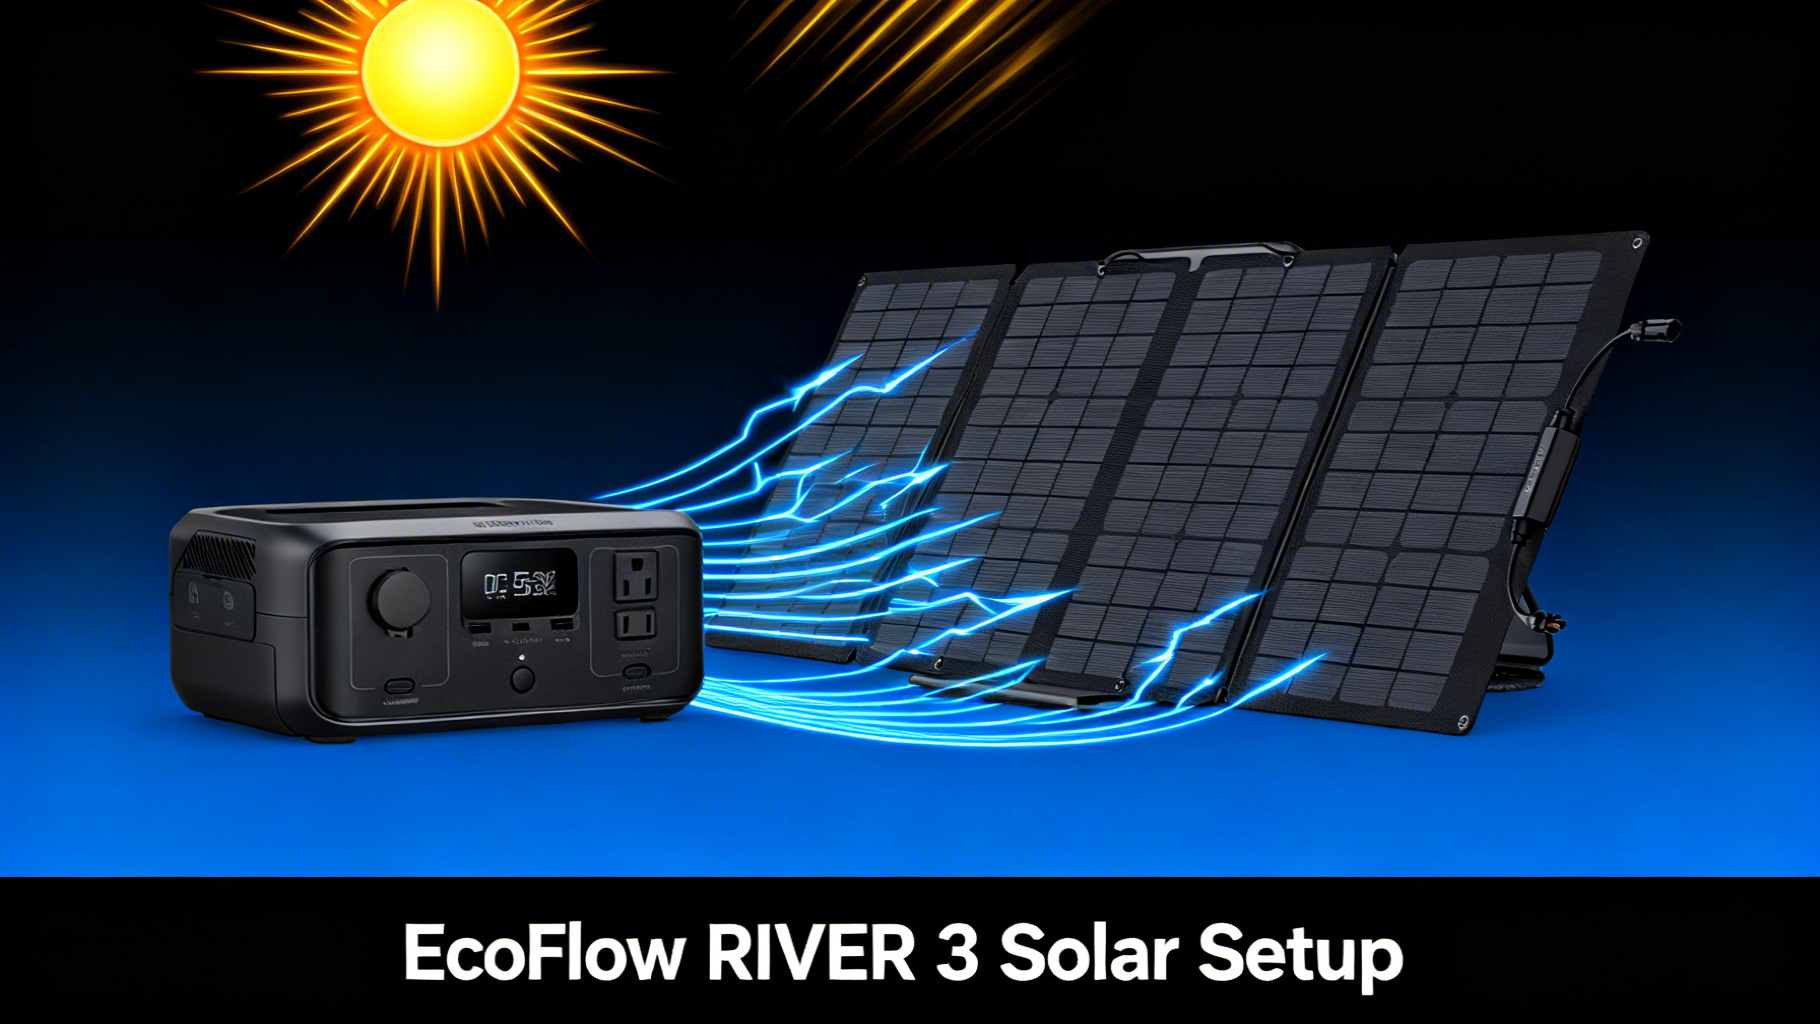
? You’re not alone. The RIVER 3 is one of the most compact portable power stations on the market, but its solar input specs create specific compatibility requirements that aren’t always obvious from the product pages.
In this guide, you’ll learn exactly which EcoFlow solar panels work with the RIVER 3, how to connect them step by step, and how long each panel takes to deliver a full charge. The entire solar panel setup process takes about 15 to 20 minutes, and no technical background is required.
If you can plug in a USB cable, you can do this.

⚡ EcoFlow RIVER 3, Current Best Price
$199 $239
- 245Wh LiFePO4, 300W output (X-Boost to 600W)
- 1-hr fast charging, IP54 waterproof battery
- 30% smaller than industry average
💡 Price checked March 2026 | Free shipping available
What You’ll Need
Required Equipment
The good news: this EcoFlow RIVER 3 solar setup requires very few components. Here’s what you need to get started.🛒 What You’ll Need
Optional But Helpful
A solar extension cable (10-30 feet) lets you keep the RIVER 3 in shade while the panel sits in direct sun, which helps prevent overheating. A carry bag protects the panel during transport. And if you want to verify your panel’s exact output, a DC multimeter gives you precise voltage and current readings.Estimated Time and Difficulty
Time: 15-20 minutes for first-time setup. Difficulty: Beginner. No tools required.RIVER 3 Solar Input Specifications
Before choosing a solar panel, you need to understand the EcoFlow RIVER 3’s solar input limits. These specs determine which panels are compatible and how fast you can charge. You can verify these numbers on the official RIVER 3 specifications page.
Recommended Solar Panels for RIVER 3
EcoFlow 45W Portable Solar Panel ($79)
The EcoFlow 45W portable solar panel is the most compact option in EcoFlow’s solar lineup. At just 8.7 x 12.2 x 1.6 inches when folded, it fits easily in a daypack or glove compartment. The panel uses TOPCon solar cell technology with up to 25% conversion efficiency and carries an IP68 waterproof rating, meaning it handles rain, dust, and splashes without worry.
EcoFlow 60W Portable Solar Panel ($99)
The EcoFlow 60W portable solar panel shares the same TOPCon technology and IP68 rating as the 45W, but adds more surface area for faster energy collection. It folds to 317 x 309 x 45 mm, making it slightly larger but still manageable for car camping and weekend trips.
45W vs 60W: Which Panel for the RIVER 3?


On a cost-per-watt basis, the 45W panel comes in at $1.76/W while the 60W panel costs $1.65/W. The 60W panel offers better value per watt of output. However, the decision comes down to how you plan to use the setup.
If you’re a backpacker or hiker who needs to keep pack weight minimal, the 45W panel makes more sense. Its ultra-compact form factor is hard to beat.
If you’re car camping, overlanding, or setting up at an established campsite where size isn’t a major constraint, the 60W panel’s faster charge time saves you over an hour of sunlight exposure. For most EcoFlow RIVER 3 with solar panel users, the 60W hits the sweet spot between portability and performance.
Charge Times: 45W vs 60W vs 110W
Solar charging time is the single biggest factor when choosing a panel for the RIVER 3. Here’s how each panel option stacks up for a full 0-100% charge of the 245Wh battery.RIVER 3 Solar Charge Times (245Wh, 0-100%)
☀️
EcoFlow 45W Panel
~6.5-7 hrs
~35-40W real output
$79
⚡
EcoFlow 60W Panel
~5-6 hrs
~45-50W real output
$99
🔋
EcoFlow 110W Panel
~3-3.5 hrs
~80-90W real output (capped at 110W input)
$169
Charge times based on ideal sun conditions. Real-world output varies with angle, weather, and temperature.
EcoFlow 45W Solar Panel
$79 $99
Best budget match for RIVER 3. Compact, IP68, 25% efficiency.
Check Current Price →Step-by-Step Solar Setup
Step 1: Unfold and Position Your Solar Panel
Place your solar panel in a location with direct, unobstructed sunlight. Unfold it completely and extend the built-in kickstand. Adjust the panel angle to face the sun as directly as possible, typically between 30 and 45 degrees from horizontal. For maximum output, optimize your solar panel angle based on your latitude and the season.
⚠️ Common mistake: Even a small shadow across one cell can reduce output by 30-50%. Check that no trees, tent poles, or gear cast shadows on any part of the panel surface. Move the panel if shadows shift as the sun moves.
Step 2: Connect the Solar Cable to RIVER 3
Locate the XT60 solar input port on the side of the RIVER 3. It’s typically covered by a rubber flap labeled “Solar” or “DC Input.” Take the cable that came with your EcoFlow solar panel and connect one end to the panel’s output port, then plug the XT60 end into the RIVER 3.
The XT60 connector clicks into place with a firm push. Don’t force it at an angle. Align the connector straight and push until you feel it seat securely. You’ll know the connection is correct when you hear a slight click and the cable holds firmly without wobbling.
Step 3: Verify Charging and Monitor Output
Once connected, the RIVER 3’s LCD screen should automatically display a solar input wattage reading. Here’s what to expect from each panel type under direct sunlight:- 45W panel: 30-40W displayed input
- 60W panel: 45-55W displayed input
- 110W panel: 80-100W displayed input
💡 Pro Tip: The wattage reading fluctuates throughout the day. Don’t worry if you see numbers jumping between 35W and 42W on a 45W panel. This is normal and reflects real-time changes in sunlight intensity and angle.
Pro Tips for Faster Solar Charging

What Can the RIVER 3 Power on Solar?
Use our portable power station calculator to determine exactly which appliances fit within the EcoFlow RIVER 3 portable power station’s 245Wh capacity. Here are some common examples based on runtime calculations. With 245Wh of capacity and 300W continuous output (600W with X-Boost), this solar generator can handle most small to mid-size electronics. Runtime calculations based on the battery capacity show these approximate numbers:- Smartphone (15W): 12-14 full charges
- Laptop (60W): 3-4 hours of use
- LED camping lantern (10W): 20+ hours
- Drone battery (50W): 4-5 charges
- Camera battery charger (20W): 10+ charges
- Mini fan (25W): 8-9 hours
Troubleshooting Common Issues
No Solar Input Displayed
If the RIVER 3 screen shows no solar input after connecting your panel, first check the cable connections on both ends. Make sure the XT60 connector is fully seated. Then verify the panel is in direct sunlight, not shade. If everything looks correct, try disconnecting and reconnecting the cable. Some users report that the display takes 10-15 seconds to register solar input after connection.Lower Than Expected Wattage
Seeing 25W on a 45W panel? This is common and usually not a defect. Real-world output rarely matches rated wattage. Check your panel angle, look for partial shadows, and consider the time of day. Early morning and late afternoon sun delivers significantly less energy than midday sun. Cloud haze, even when it looks sunny, can also reduce output.Charging Stops Intermittently
Intermittent charging typically indicates a loose cable connection or fluctuating sunlight (passing clouds). Reseat the XT60 connector firmly. If the issue persists in stable sunlight, inspect the cable for damage near the connectors.Slow Charge in Afternoon
Solar output naturally declines after 2-3pm as the sun angle drops. This is normal behavior, not a panel or station issue. Readjust your panel angle to track the afternoon sun. If you need a full charge, start your solar session before noon to capture the peak energy window.Who Should Use This Setup?
✅ This setup is ideal if…
- You need a lightweight solar generator for day trips or weekend camping
- You want to keep phones, tablets, and small appliances charged off-grid
- Portability matters more than raw power capacity
- Your budget is under $300 for a complete solar setup
❌ Skip this setup if…
- You need to power high-wattage appliances like a mini-fridge or CPAP continuously
- You need multi-day off-grid power without AC recharging
- You want home backup for outages lasting more than a few hours
- You require more than 300W (600W with X-Boost) AC output
FAQ
What is the maximum solar input for the EcoFlow RIVER 3?
Can I use a non-EcoFlow solar panel with the RIVER 3?
How long does it take to charge the RIVER 3 with a 60W solar panel?
Can I connect two solar panels to the RIVER 3?
Can I use the RIVER 3 while it charges from solar?
Final Verdict
The EcoFlow RIVER 3 is a capable solar generator for portable solar charging, with its 110W max solar input, built-in MPPT controller, and compact 245Wh LiFePO4 battery. The setup process is straightforward: unfold, connect, verify. No special tools or technical knowledge required. For panel selection, the data points clearly. The EcoFlow 45W panel ($79) is the right choice for ultralight travelers who prioritize portability above charging speed. The EcoFlow 60W panel ($99)is the better value for most users, offering faster charge times at a minimal weight and size increase. If you want the fastest possible solar charge, a 110W panel fills the RIVER 3 in about 3 to 3.5 hours but comes at a higher price point.
Where this setup falls short: 245Wh is limited for extended off-grid stays or powering high-draw appliances. If you’re planning multi-day trips without AC access, or need to run a CPAP machine or mini-fridge continuously, you’ll want a larger capacity station.
But for day trips, weekend camping, and keeping your essential devices charged in the outdoors, the RIVER 3 plus a 45W or 60W solar panel delivers a reliable, affordable, and genuinely portable EcoFlow solar generator package.
EcoFlow RIVER 3 + Solar Panel
From $199
Best compact solar generator for camping and day trips
Price verified March 2026. Free shipping available
Related Reads
- 160W Solar Panel
- 220W Solar Panel
- 400W Solar Panel
- Best Solar Generator Kits
- How to Connect Solar Panels
Related Reads
Originally published: March 25, 2026