
You bought a BLUETTI power station for your RV or van, but plugging into shore power every night limits where you can go. The BLUETTI Charger 1 solves this by turning your vehicle's alternator into a passive charging source: every mile you drive adds power back into your station without any solar panels or campsite hookup required.
This guide covers the complete installation process, from battery connections to verification, with step-by-step instructions any DIYer comfortable with basic 12V wiring can follow. For a complete spec breakdown, see our full Charger 1 review before starting this install.
The full install takes 1-2 hours with standard tools. You'll know the system is working the moment you start your engine and see the input wattage appear on your power station's display.

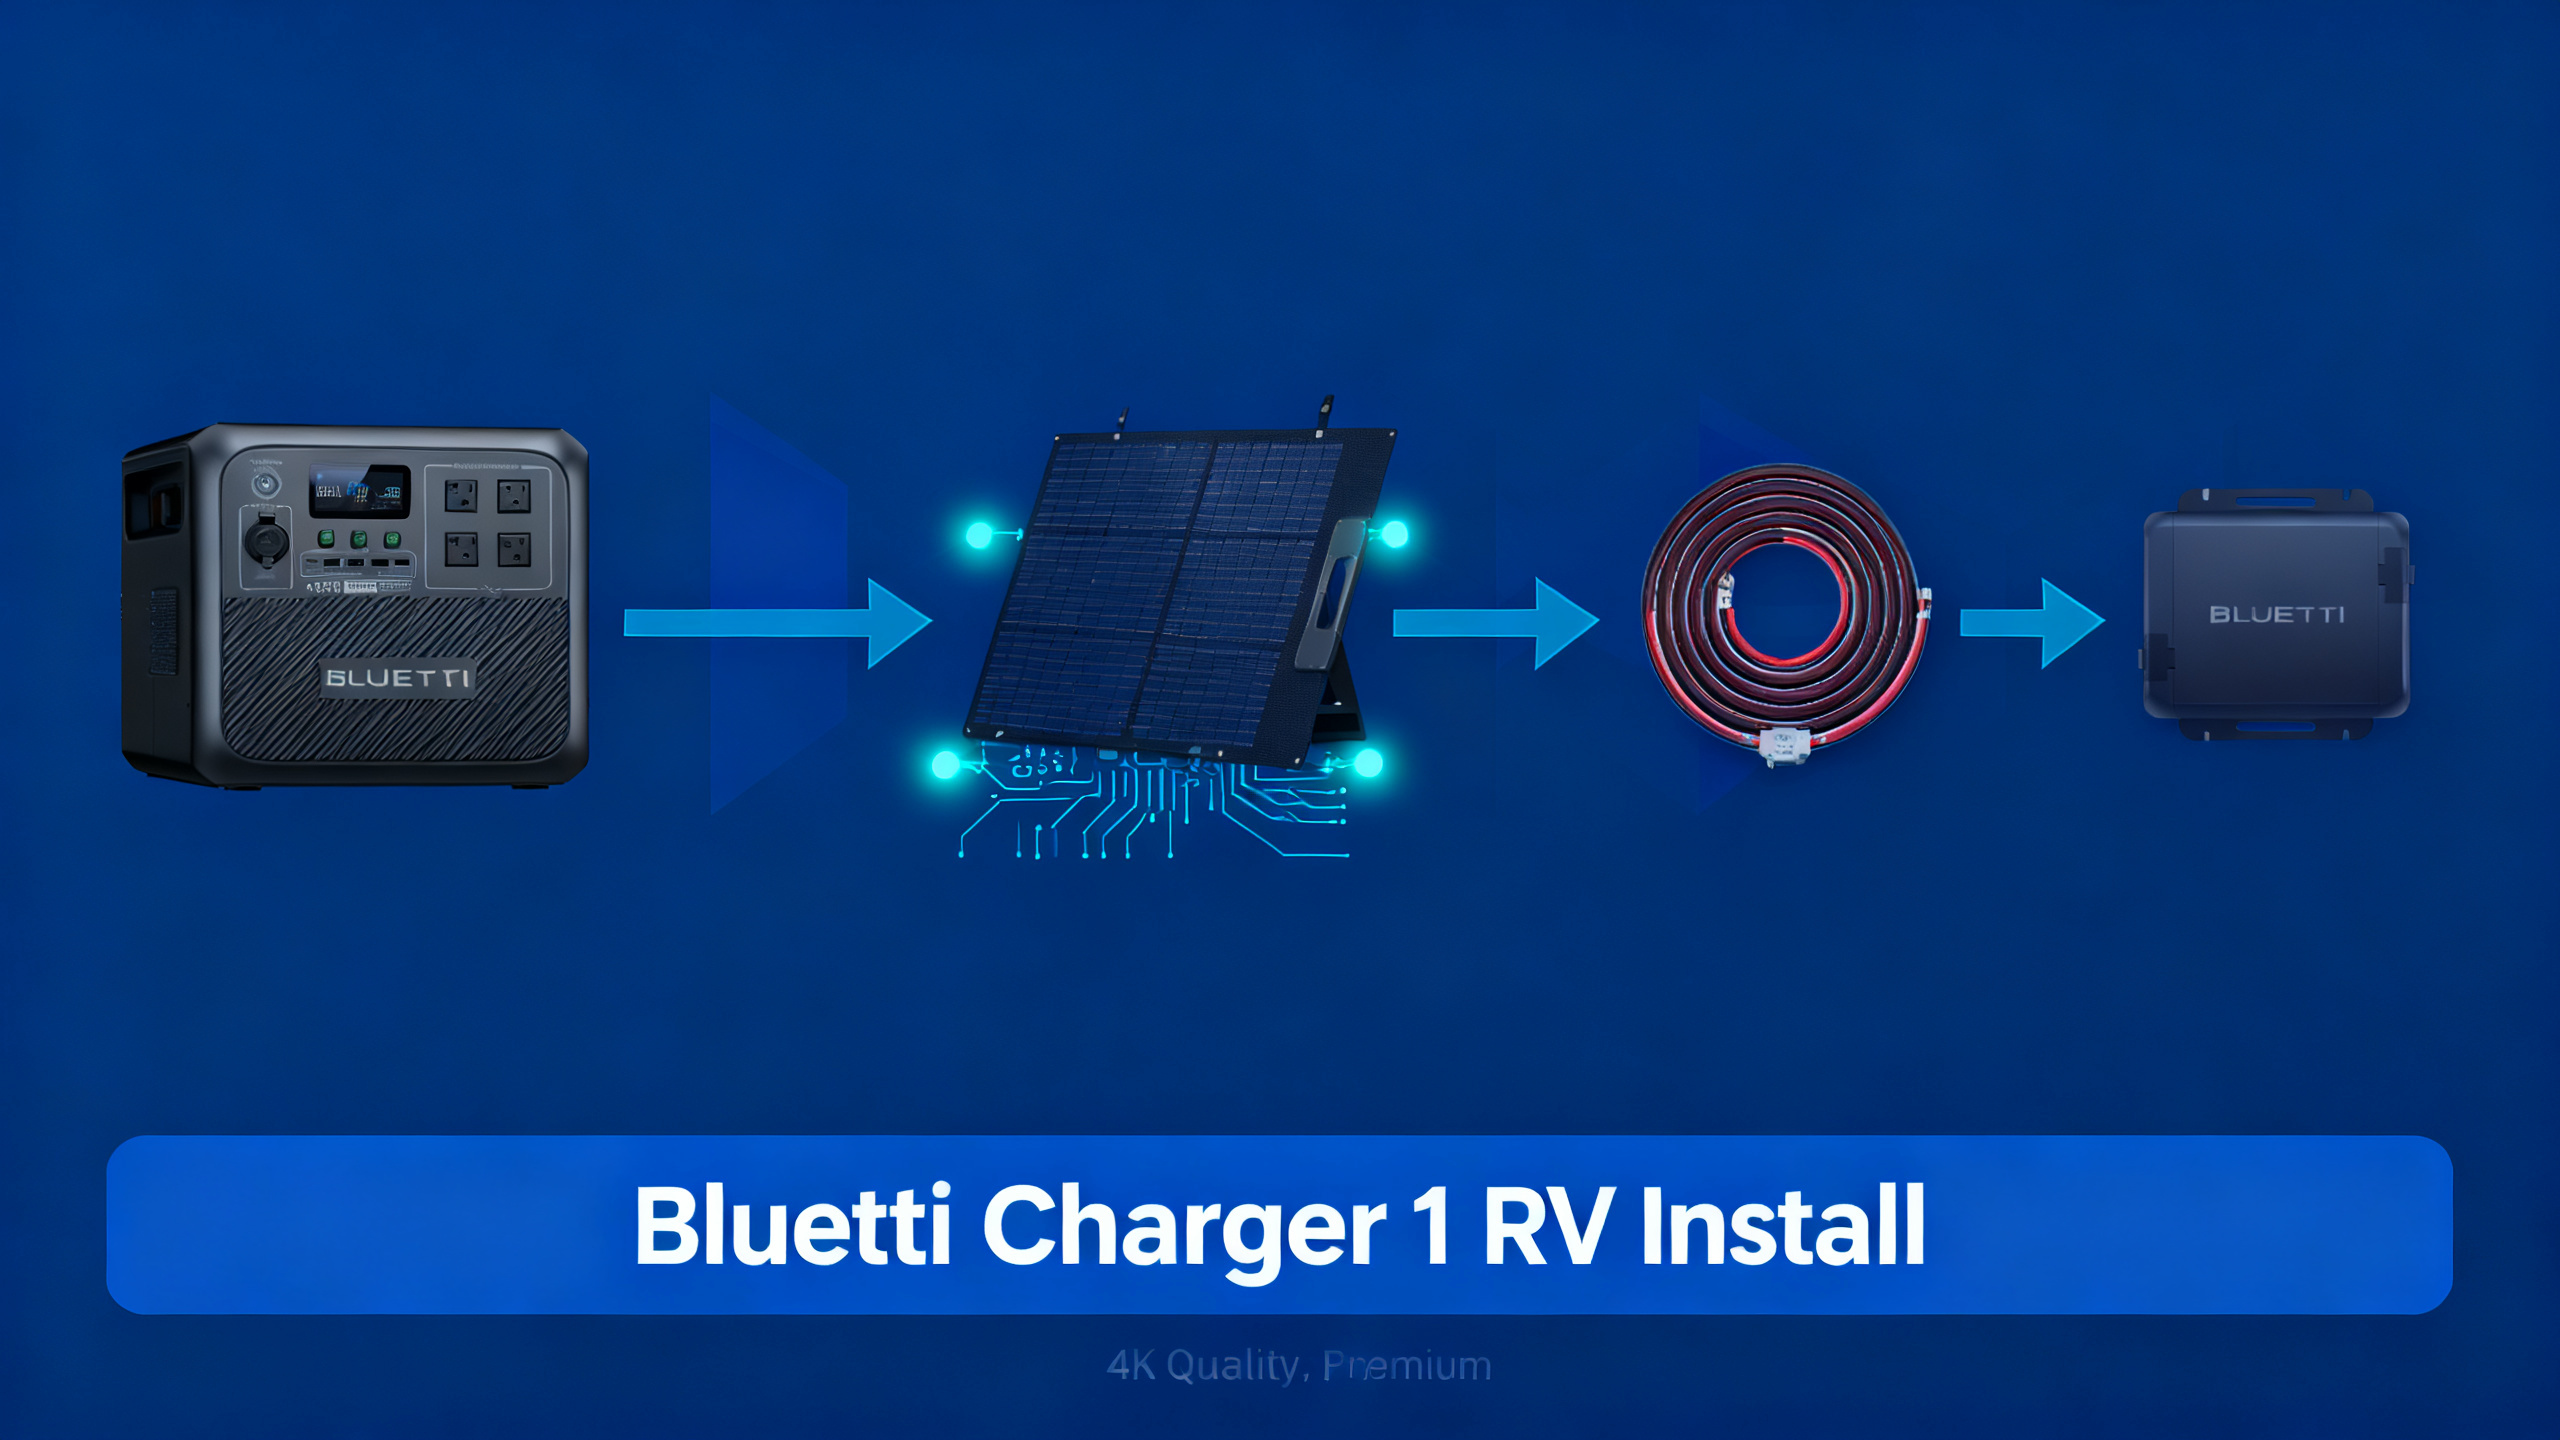
BLUETTI Charger 1
$299 $399
- 60A DC-to-DC alternator charger
- Compatible with Apex 300, AC240, Pioneer Na, AC180
- Charges power station while you drive
What Is the BLUETTI Charger 1?
The Charger 1 is a 60A DC-to-DC alternator charger, not a solar charge controller and not a shore power adapter. That distinction matters: it conditions power from your vehicle's starting battery system via DC-to-DC conversion and delivers regulated, isolated charge to your BLUETTI power station. Your starting battery never directly connects to your power station, which protects both.
Compatible models include the Apex 300, AC240, Pioneer Na, AC180, and other BLUETTI units with a dedicated DC input port. If your model doesn't have a DC input port, the Charger 1 won't work with it. You can order the BLUETTI Charger 1 with the correct DC output cable for your specific model at checkout. Check the BLUETTI Charger 1 compatibility list before purchasing.

What You'll Need
Required Equipment
Before you start, gather everything on this list. Stopping mid-install to source a missing component adds unnecessary time and risk. The Charger 1 ships with the DC output cable matched to your specific BLUETTI model, so that connection is already sorted.
- BLUETTI Charger 1 (includes model-specific DC output cable)
- 4 AWG or 6 AWG wire (positive run from vehicle battery to charger input)
- 60A inline blade fuse + holder (must be within 18 inches of battery positive)
- 4 AWG ring terminals (battery post connections, both ends)
- Wire stripper and crimper
Optional but Helpful
- Multimeter (verify voltage at connection points before finalizing)
- Self-tapping screws or mounting bracket (securing the unit to a surface)
- Wire loom and cable ties (clean routing away from heat and abrasion)
- Electrical tape
Time and Difficulty
Estimated time is 60-90 minutes for anyone who has done basic 12V wiring before. If this is your first DC wiring project, budget 2 hours and work slowly. The install is beginner-to-intermediate: no advanced electrical knowledge required, but you should be comfortable identifying battery terminals and working safely around 12V DC.
If you are new to 12V wiring, review RV electrical system basics before starting. Understanding fuse sizing and wire gauge is essential here, and that guide covers both clearly.
For the official product page with accessory details, see the official BLUETTI Charger 1 product page.
Before You Start: Safety Warnings
Don't skip this section. A mistake in 12V DC wiring doesn't produce a spark and a ruined fuse. At 60A, a wiring error can start a fire. These four points are non-negotiable.
⚠️ Important: Always disconnect the vehicle's negative battery terminal before making any wiring connections. This eliminates shock risk and prevents accidental shorts while you work.
- Install the 60A inline fuse within 18 inches of the positive battery terminal. This is the critical overcurrent protection for the entire circuit. If the fuse is further away, the unprotected wire section becomes a fire hazard.
- Never run the Charger 1 with the vehicle engine off for extended periods. It requires alternator output to function correctly. Sustained use without engine running will drain your starting battery.
- Verify polarity before finalizing connections. Reversed polarity can damage the Charger 1 and your power station. Double-check positive to positive, negative to negative, before reconnecting the battery.
Follow the precautions outlined in our RV electrical safety guide to avoid damage to your vehicle's charging system.
Compatible BLUETTI Power Stations
The Charger 1 only works with BLUETTI models that have a dedicated DC input port. Not every BLUETTI unit qualifies. Before purchasing, confirm your model appears on this list or check the official compatibility page.
All models referenced in our Bluetti brand review that include a dedicated DC input port are eligible for alternator charging with this accessory. For the full compatibility list, check the BLUETTI Charger 1 compatibility list on the official site.
Install this if…
- You drive your RV or van regularly and want free charging miles
- You own a BLUETTI Apex 300, AC240, Pioneer Na, or AC180
- Shore power or solar is not always available on your route
- You want a passive, no-effort top-up while traveling
Skip this if…
- You own a BLUETTI model without a DC input port (check compatibility first)
- You mostly use shore power and rarely drive long distances
- Your vehicle alternator is rated below 90A total output
- You are not comfortable with basic 12V DC wiring
Still planning your overall RV build?
Our guide to a complete RV power setup covers battery sizing and solar integration alongside alternator charging.
Step-by-Step Installation
Work through these steps in order. Each step has a clear success indicator so you know exactly when you can move forward. Don't rush the wiring connections; a tight, clean crimp takes 60 seconds and prevents problems down the road.
Step 1: Choose Your Mounting Location
Mount the Charger 1 in a ventilated, accessible location close to the vehicle battery. Avoid mounting near exhaust components, directly above the battery (hydrogen gas accumulates there), or in a completely sealed compartment. Spec data confirms the unit requires passive airflow to maintain operating temperature under load.
Both horizontal and vertical orientations work. Use the included bracket or self-tapping screws into a solid surface. Before drilling, confirm no wires or plumbing run behind the mounting panel.
💡 Pro Tip: Mount as close to the starting battery as practical. Shorter wire runs mean lower resistance and less voltage drop at 60A, which translates directly into higher charge rates reaching your power station.
You'll know it's correct when: The unit sits firmly with at least 3 inches of clearance on all vented sides, and the DC output cable reaches your power station without strain on either connector.
Step 2: Connect the Positive Lead
Cut your positive wire to length, running from the battery positive terminal to the Charger 1's positive input. Leave a few extra inches for strain relief at both ends. Crimp a ring terminal on each end using a proper ratcheting crimper. Solder-and-heat-shrink is even better if you have the tools.
Install the 60A inline fuse within 18 inches of the battery positive post. This is the single most critical safety step in the entire install. Connect one end of the wire to the battery positive, route it through the fuse holder, then connect the other end to the Charger 1 positive input terminal.

You'll know it's correct when: The wire runs without sharp bends, the fuse holder is accessible for future inspection, and no bare copper is exposed between terminals.
Step 3: Connect the Ground Lead
Cut the ground wire to length. You're connecting the Charger 1's ground terminal to either the vehicle chassis or the battery negative post. If going to the chassis, the contact point must be bare metal, not painted or powder-coated. Lightly sand the surface if needed, make the connection, and protect the exposed metal with a dab of dielectric grease or touch-up paint after.

You'll know it's correct when: A multimeter reads under 0.1 ohm resistance between the Charger 1 ground terminal and the battery negative post. Any reading above that indicates a poor ground path.
Step 4: Connect the DC Output to Your BLUETTI
Plug the included DC output cable into the Charger 1's output port. The other end connects to your BLUETTI power station's DC input port. This cable is model-specific: it ships matched to whatever unit you ordered the Charger 1 for, so there's no guessing which connector goes where.
Route the cable cleanly between the Charger 1 mounting location and your power station. Secure it with cable ties at 6-inch intervals, keeping it away from any moving parts or heat sources along the route.


You'll know it's correct when: Both connectors click or seat fully without force. If either connection requires forcing, stop and verify you have the right cable for your specific BLUETTI model.
Step 5: Reconnect Battery and Test
Reconnect the vehicle's negative battery terminal. Do a visual check of your entire wiring run before turning the key: confirm the fuse is seated, all ring terminals are tight, and no wires cross any moving components. Start the engine.
Check your BLUETTI power station's display for a DC input reading. Spec analysis confirms the Charger 1 delivers up to 60A at 12-15V; expect a 400-900W input reading depending on your power station's current battery state. A near-full station will show a lower number as charging tapers automatically.
You'll know it's correct when: The power station display shows active DC input with a wattage reading above zero. The Charger 1 handles regulation automatically, so you won't always see the full 60A immediately, and that's normal.
Step 6: Secure and Finalize Wiring
Route all cables away from moving parts, exhaust routing, and sharp metal edges. Use wire loom on any section exposed to potential abrasion. Apply cable ties at 6-inch intervals throughout. Label the inline fuse location with a small piece of tape so anyone working on the vehicle in the future can identify it without a search.

You'll know it's correct when: No wires have slack that could allow movement, all cable ties are snug without cutting into insulation, and the fuse location is clearly marked and accessible without removing panels.
Van builders: additional wiring context
Our dedicated van life power guide covers routing, insulation, and integration with your full electrical build.
Verification and Expected Results
Once the engine is running and the display shows a DC input reading, check these three metrics to confirm the install is healthy. Normal ranges are based on published specs and consistently reported owner data across compatible BLUETTI models.
If the DC input wattage reads zero with the engine running, start with the fuse: pull it and check for continuity. A blown fuse is the most common cause of a zero reading on a fresh install. If the fuse is intact, check that the DC output cable is fully seated in both the Charger 1 and your power station's DC input port.
Pro Tips for Maximum Performance
These observations come from spec analysis and documented patterns across the owner community for the Charger 1 and similar DC-to-DC alternator chargers in mobile installations.
Use 4 AWG wire over 6 AWG for any run longer than 4 feet. At 60A, resistance losses on 6 AWG add up over distance. The difference in delivered wattage between a short 6 AWG run and a longer 4 AWG run is measurable. 4 AWG eliminates that variable entirely and leaves no guesswork.
Combine with solar input for dual charging. Compatible models, including the Apex 300, accept simultaneous alternator and solar input. Both sources operate at the same time, and the power station manages combined inputs automatically. On a sunny driving day, the combination can substantially accelerate recharge rates.
If your vehicle has a high-draw audio system, roof AC, or auxiliary lighting, account for those loads against your alternator's total output before assuming the Charger 1 can run at full 60A continuously. The Charger 1's DC-to-DC architecture means it draws at a regulated rate and won't cause voltage sag under a normally sized alternator, but high parasitic loads can reduce available headroom.

Van builders will find additional wiring context in our dedicated van life power guide, particularly around wire routing through insulation and managing multiple DC loads on the same vehicle battery system.
Troubleshooting Common Issues
Most problems with this install fall into four categories: no charging detected, low charge rate, thermal issues, or error indicators. The table below covers the most frequently reported issues and their fixes.
Charger 1 Troubleshooting: Quick Reference
| Problem | Likely Cause | Fix |
|---|---|---|
| No charging detected | Engine not running / fuse blown | Start engine. Check 60A inline fuse. |
| Low charge rate (under 30A) | Undersized wire or poor connection | Upgrade to 4 AWG. Clean all terminal contacts. |
| Charger gets very hot | Poor ventilation in mounting location | Mount in ventilated space. Leave 3-inch clearance. |
| Red light on unit | Input voltage too low or protection triggered | Check vehicle battery voltage (should be 12.8V+ running). |
| Power station not recognized | Wrong DC input cable plugged in | Verify included cable matches your BLUETTI model's DC input type. |
⚠️ Common mistake: Mounting the Charger 1 in a sealed compartment without airflow. The unit generates heat under load. Owners who miss this consistently report thermal throttling or overtemperature shutdowns on long drives. Always verify ventilation before finalizing the mounting location.
What to Do Next
With the Charger 1 installed and verified, your BLUETTI power station charges passively every time you drive. Here's how to get more out of the system over time.
Add solar panels for combined charging. Compatible models, including the Apex 300, accept simultaneous solar and alternator input. Adding even a modest 200W panel means your station receives multiple charging sources on a typical driving day. On days with good sun and a long drive, you may arrive at camp with a fully charged station regardless of where you started.
If you're considering upgrading your power station, the Apex 300 + Charger 1 bundle packages both together at $1,799 (originally $2,699), which is the most direct path to a fully capable alternator-charged mobile power system from BLUETTI.
For those planning a broader mobile electrical build, our guide to a complete RV power setup covers battery sizing, solar integration, and alternator charging together as a system rather than individual components.
BLUETTI Charger 1
$299
Best alternator charger for BLUETTI power stations
Price verified April 2026. Free shipping available.
Frequently Asked Questions
Does the BLUETTI Charger 1 work while the engine is off?
No. The Charger 1 is an alternator-based DC-to-DC charger and requires the vehicle engine to be running. It draws power from the vehicle's electrical system via the alternator, not from a fixed battery bank. Running it with the engine off would draw from the starting battery directly, which would drain it and potentially leave you stranded. The unit is designed to detect alternator output and only charge when the engine is running.
What wire gauge should I use for the BLUETTI Charger 1?
Spec analysis confirms 4 AWG is the recommended gauge for both the positive and negative runs. For very short runs under 3 feet, 6 AWG is acceptable, but 4 AWG eliminates resistance losses at full 60A draw and is the safer, more future-proof choice. Undersized wire is the most common cause of reduced charge rates in DC-to-DC alternator charger installs. When in doubt, go heavier.
Can I combine the Charger 1 with solar charging at the same time?
Yes, on compatible models such as the Apex 300. Both inputs can operate simultaneously. Published data indicates the power station manages combined input sources automatically, prioritizing and maximizing total charge rate without requiring any manual switching. This combination is particularly effective on sunny driving days, where solar and alternator input together can deliver well above what either source provides individually.
Will the BLUETTI Charger 1 drain my vehicle battery?
No, because of its DC-to-DC isolated design. The Charger 1 monitors input voltage continuously and stops drawing when vehicle battery voltage drops below a built-in protection threshold. This prevents the starting battery from discharging to an unsafe level. The isolation also means your power station's battery state doesn't affect the starting battery at all, even during charging.
How long does it take to charge an Apex 300 with the Charger 1?
Runtime calculations based on the Charger 1's 60A maximum output and the Apex 300's capacity show approximately 4-6 hours of driving to charge from 20% to 100%, depending on alternator voltage and parasitic loads on the vehicle's electrical system. Spec-based estimates consistently align with this range. Combining with solar input on a sunny day reduces that window further.
Originally published: April 7, 2026