
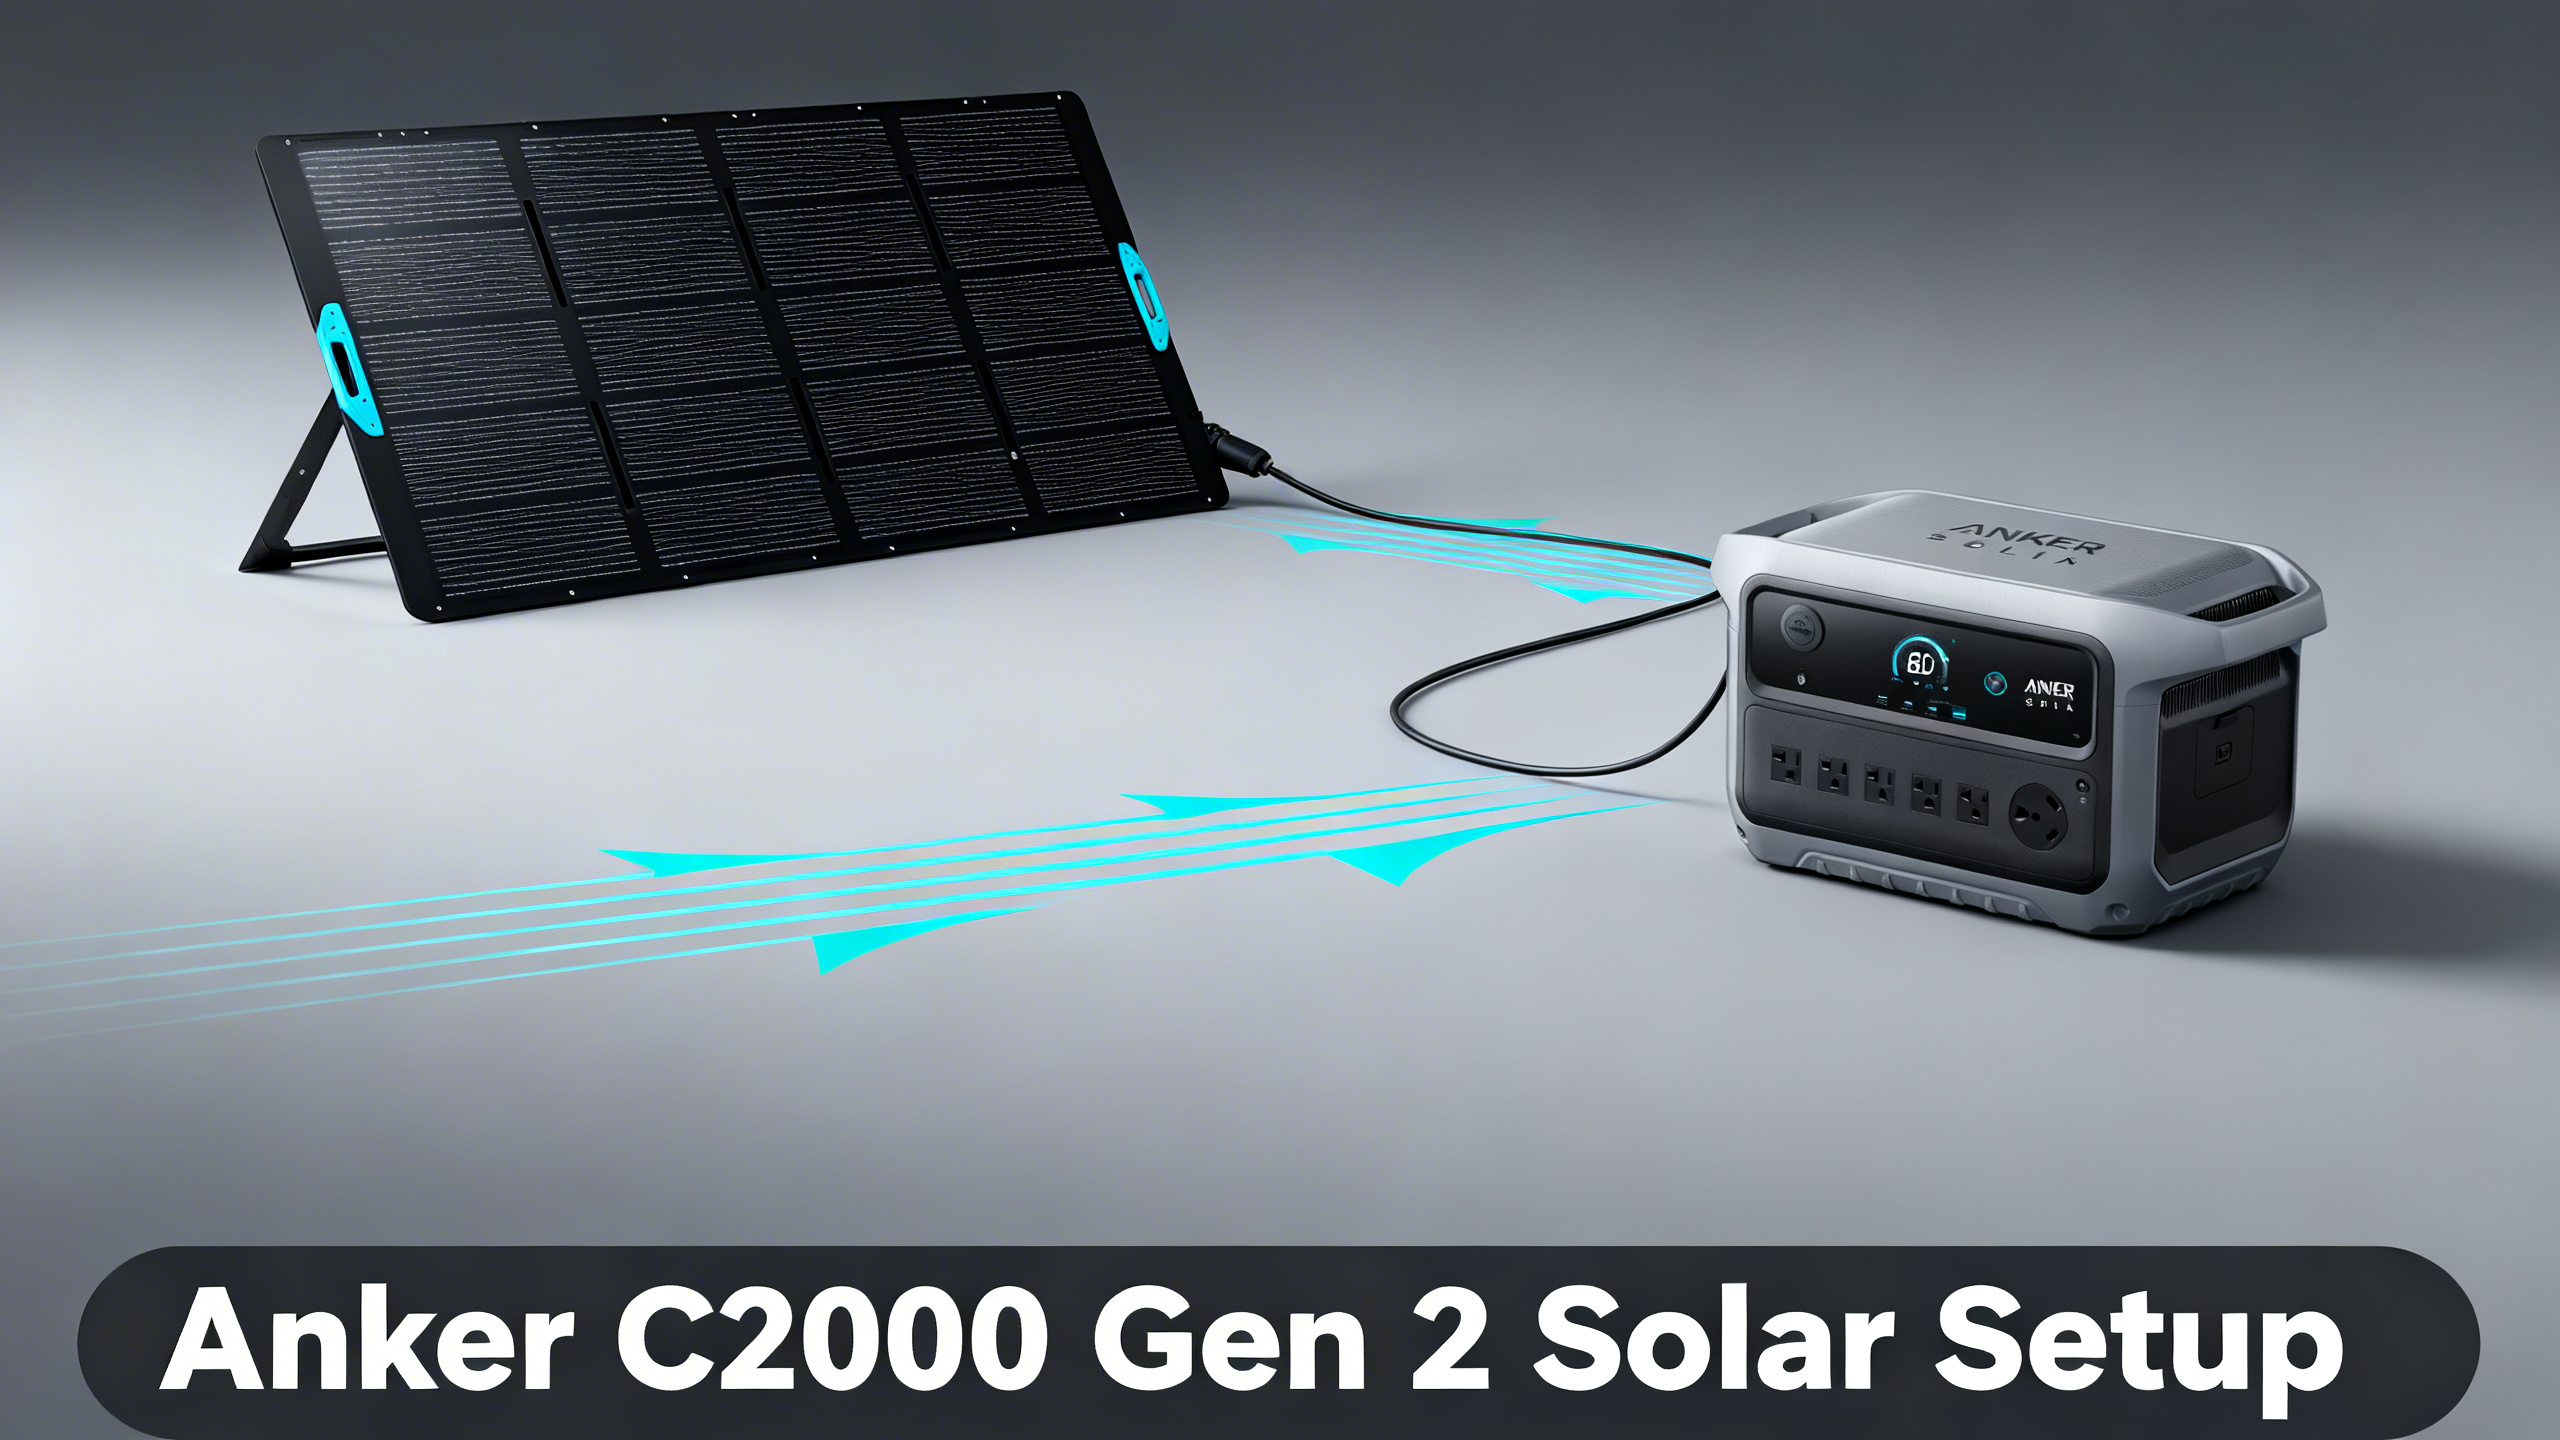
Want to run the Anker SOLIX C2000 Gen 2 entirely on solar? The specs make a compelling case: 800W max solar input through a single XT60i port, and a 2,048Wh LFP battery that Anker rates at a full charge in about 3 hours when the panels deliver the full 800W. Getting there requires the right panel selection and wiring configuration.
This guide covers the C2000 Gen 2’s solar charging specifications in detail, the best Anker panel pairings for every budget and use case, series vs parallel wiring decisions, and yield optimization tips. The C2000 Gen 2 sits at the heart of Anker’s portable lineup. For a broader look at the brand, our full Anker SOLIX brand review covers every model in detail.

Anker SOLIX C2000 Gen 2
$799.99
- 2,048Wh LFP, 2,400W / 4,000W peak
- 800W max solar input, single XT60i port (11-60V)
- 80% charge in 45 min (AC + solar)
Own a Anker SOLIX? Get the owner's checklist.
Storage, cold weather, solar limits and battery health for your Anker SOLIX power station, in one email. After that, about one email a week with setup guides, plus a heads-up when compatible batteries or panels go on sale.
Unsubscribe in one click. We may earn a commission when you buy through our links, at no extra cost to you. Privacy Policy
Understanding the C2000 Gen 2’s Solar Specs
This guide focuses on solar setup. For a full performance breakdown including runtime and ports, see our C2000 Gen 2 vs F2000 comparison.
The C2000 Gen 2 has one MPPT (Maximum Power Point Tracking) controller behind a single XT60i solar port. The port accepts input in the 11-60V range, with a ceiling of 800W. There is no second solar port. Every panel you connect, whether one or several, feeds into this one input.
C2000 Gen 2: Solar Charging Specifications
How MPPT Works on the C2000 Gen 2
MPPT (Maximum Power Point Tracking) is the technology that continuously adjusts the electrical operating point of your panels to extract maximum power regardless of changing light or temperature conditions. The C2000 Gen 2 has a single MPPT controller on its XT60i input, so all connected panels operate as one array at a shared operating point. That makes consistent sun across your panels more important than on dual-input stations. You’ll know the controller is working correctly when the input wattage reading on the display matches closely with expected panel output for current sun conditions.
📊 How to read the charge times in this guide: each setup gets two numbers.
Best case assumes your panels deliver their full rated watts. It’s the battery capacity divided by the input, plus about 15% for charging losses and the slower last few percent. That matches Anker’s own figure of about 3 hours at 800W.
Typical assumes about 70% of the rated watts, a realistic planning figure for folding panels in good sun. Heat, angle and haze all cut output, so a 400W panel showing 250 to 300W on the display is normal.
Both are hours of strong sun, not hours of daylight. Most places only get about 4 to 6 of those a day, so a charge that needs 8 hours of strong sun usually spans more than one day.
Which Solar Panel Works with the C2000 Gen 2?
Before diving into configurations, our guide to the solar panel lineup 2026 covers the full PS100/PS200/PS400 and 440W Rigid range in one place.
Anker offers four panel options that pair directly with the C2000 Gen 2 via the single XT60i input. Here’s how they compare for this specific station:


PS100 (100W): The entry-level portable option. At 100W, filling the 2,048Wh battery takes about 24 hours of strong sun in the best case and 30+ hours in typical conditions, making it best suited as a supplemental panel rather than a primary charging source. Practical for light top-up scenarios during multi-day off-grid trips.
PS200 Bifacial (200W, $499.99): A solid mid-range portable option. A full charge takes about 12 hours of strong sun in the best case and closer to 17 hours in typical conditions, so going from empty to full spans several sunny days. At $499.99 for the PS200 Bifacial, this suits users who prioritize portability over speed.
PS400 (400W, $899): The most capable portable panel in the lineup. One PS400 halves the charge time compared to the PS200: about 6 hours of strong sun in the best case, around 8.5 hours in typical conditions. The PS400 at $899 is the recommended starting point for anyone who plans to rely primarily on solar.
440W Rigid Panels (pair, $999): Designed for fixed or semi-permanent installations. A pair wired in parallel delivers 880W nominal, which the station caps at its 800W input limit, bringing charge time down to about 3 hours in the best case and a little under 4 hours in typical conditions. The 440W rigid panel pair at $999 makes the most sense for cabin, van roof, or garage setups.
Compatible Third-Party Panels
Third-party panels work with the C2000 Gen 2 as long as they connect via XT-60 or include an MC4-to-XT-60 adapter (Anker sells the A24V7011 adapter for $29.99). The key constraint: open-circuit voltage must not exceed 60V. Exceeding this risks controller damage. Always check the panel’s Voc spec before connecting, and combine several panels in parallel only, as Anker’s manual requires.
Own a Anker SOLIX? Get the owner's checklist.
Storage, cold weather, solar limits and battery health for your Anker SOLIX power station, in one email. After that, about one email a week with setup guides, plus a heads-up when compatible batteries or panels go on sale.
Unsubscribe in one click. We may earn a commission when you buy through our links, at no extra cost to you. Privacy Policy
Best Solar Panel Combinations for the C2000 Gen 2
Recommended Solar Configurations: C2000 Gen 2
Entry Setup
200W
1x PS200 (direct connection)
~12 hrs best case, ~17 hrs typical
Balanced Setup
400W
1x PS400 (direct connection)
~6 hrs best case, ~8.5 hrs typical
Fast Setup
800W
2x PS400 (parallel, Y-combiner cable)
~3 hrs best case, ~4 hrs typical
Max Input
800W (cap)
2x 440W rigids (parallel, capped at 800W)
~3 hrs best case, under 4 hrs typical (headroom in weak sun)
1x PS400: The Balanced All-Rounder
For most campers and van lifers, one PS400 hits the practical sweet spot. In the best case (a full 400W under direct, unobstructed sun), a full charge from empty takes about 6 hours. In typical conditions, plan on around 8.5 hours of strong sun. That usually means more than one day to go from empty to full, unless the day is long and clear and you re-aim the panel as the sun moves.
Where one PS400 really works is keeping the battery topped up day after day. It folds compactly and weighs 35.3 lbs, so it’s portable, just not light.
2x PS400: Fastest Portable Setup
Connecting two PS400 panels in parallel through a Y-combiner cable into the XT60i port delivers up to 800W of input: about 3 hours to full in the best case, around 4 hours in typical conditions. This is the fastest practical portable configuration for the C2000 Gen 2. Parallel is the only safe way to combine two PS400 panels here. In series their voltages add up well past the 60V input limit, which can destroy the charge controller. The limitation here is cost: two PS400 panels run $1,798 before any discounts, which represents more than double the station’s own price.
440W Rigid Panels: Best for Fixed Installations
The 440W rigid panels suit rooftop van installations, cabins, or any setup where the panels stay in place. A pair of 440W rigids ($999) wired in parallel delivers 880W nominal, which the C2000 Gen 2 caps at 800W. That means a full charge in about 3 hours under optimal sun and a little under 4 hours in typical conditions. The extra 80W of panel gives some headroom when the sun is weaker. Never wire two of these panels in series: their combined open-circuit voltage exceeds the 60V limit. The trade-off is obvious: rigid panels don’t fold, they’re heavier, and installation requires mounting hardware.

Series vs Parallel Wiring for the C2000 Gen 2
Choosing between series and parallel wiring matters for your target. Our full technical breakdown of series vs parallel wiring explains the theory, while this section applies it directly to the C2000 Gen 2.
The core rule: the C2000 Gen 2 accepts up to 60V on its single XT60i solar input. That single constraint shapes every wiring decision for this station.
Series vs Parallel: Which for the C2000 Gen 2?
⚡ Series Wiring
Voltage adds up, current stays same
- Less current, so less loss on long cable runs
- One shaded panel drags down the whole string
- 2x PS200 or 2x PS400 in series exceed 60V
- Anker’s manual calls for parallel only
⚡ Parallel Wiring
Current adds up, voltage stays same
- More resilient to partial shading
- Needs a Y-combiner (parallel) cable
- Voltage stays at a single panel’s level
- Best: 2x PS400 or 2x PS200 via a Y-combiner
⚡ Max Input (800W)
Parallel into the single XT60i port
- The single port caps input at 800W
- 2x PS400 in parallel = 800W
- Voltage stays at single-panel level
- Requires a Y-combiner cable
When to Wire in Series
Series wiring adds voltage while keeping current constant. Its main advantage is lower current, which means less power lost over long cable runs. Its main weakness is shade: in a series string, the weakest panel limits the current of the whole string, so one shaded panel pulls down the output of both.
On the C2000 Gen 2, skip series wiring. Anker’s PS200 and PS400 are both 48V panels, so two of them in series would push the input far past the 60V limit and could damage the station. Anker’s user manual is explicit: when you charge with several solar panels, connect them in parallel and keep the input at or below 60V.
When to Wire in Parallel
Parallel wiring combines current while voltage stays at a single panel’s level. This is the setup Anker specifies for the C2000 Gen 2, and the only safe way to combine two PS400 or two PS200 panels on its single port. Each PS400 already has an open-circuit voltage of 57.6V on its own, so series wiring would exceed the port’s limit. In parallel, voltage stays within range while current adds up: two PS400s give up to 800W.
Parallel also copes better with shade. If one panel is partly shaded, the other keeps producing close to its normal output. Both panels still share one MPPT controller, so you get the best results when they see the same sun: set them side by side in open sky (camping, van rooftop).

⚠️ Important: Anker’s C2000 Gen 2 manual says that when you charge with several solar panels, each one must be connected in parallel and the input must stay at or below 60V. Otherwise the station can be damaged. Check the open-circuit voltage (Voc) of any third-party panel before connecting it.
Maximizing Solar Yield: Placement, Angle and Season
The difference between good and optimal solar yield often comes down to panel angle and orientation rather than panel count. Anker’s portable panels (PS200, PS400) include adjustable kickstands with four angle settings: 30°, 40°, 50°, and 80°. For most mid-latitude locations, a 30-40° tilt facing true south (in the Northern Hemisphere) maximizes daily yield during summer months.
Partial shading is the single biggest yield killer. Even a small shadow on one panel section can reduce MPPT output disproportionately. Real-world data from the owner community consistently shows that repositioning panels away from intermittent shade sources (tree branches, building edges) recovers more yield than any wiring optimization. Published solar irradiance data from NREL confirms that peak solar hours vary significantly by latitude and season, which directly affects achievable charge times.
💡 Pro Tip: Angle your panels every 2-3 hours to track the sun’s arc across the sky. Spec analysis of solar yield data indicates this active tracking approach can recover 20-30% more energy compared to a fixed morning angle.
Seasonal conditions matter significantly for achievable charge times. Winter sun angles are lower and peak solar hours are shorter. Our dedicated guide on winter solar charging tips addresses cold-weather panel performance in detail, including how temperature affects LFP battery acceptance rate on the C2000 Gen 2.
Expanding Capacity: BP2000 Gen 2 and Solar
For users who want more runtime, the BP2000 Gen 2 expansion battery doubles capacity to 4,096Wh and keeps the same 800W solar input ceiling.

Connecting the BP2000 Gen 2 expansion battery ($599) extends total capacity to 4,096Wh. The solar input ceiling does not change: the C2000 Gen 2 still accepts a maximum of 800W regardless of whether the expansion battery is connected. What changes is charge time. With 800W of panels, a full charge of the 4,096Wh system takes about 6 hours of strong sun in the best case and around 8.5 hours in typical conditions. In practice that’s more than one day of sun, so plan accordingly if you’re relying on solar alone.

Running the C2000 Gen 2 for Home Backup?
A 4,096Wh system with 800W solar input gives you a serious home backup setup. The BP2000 Gen 2 pairs directly.
FAQ: Anker SOLIX C2000 Gen 2 Solar Setup
What is the maximum solar input for the Anker SOLIX C2000 Gen 2?
Anker’s specifications confirm a maximum solar input of 800W via a single XT60i port, within an 11-60V voltage range. Connecting more than 800W of panels does not increase charge speed; the MPPT controller limits input at that ceiling.
How long does it take to charge the C2000 Gen 2 with solar panels?
Charging time depends on panel output and sun conditions. With one 400W panel, plan on about 6 hours of strong sun in the best case and around 8.5 hours in typical conditions, which usually means more than one day. With 800W (2x PS400 in parallel), that drops to about 3 hours in the best case (Anker’s figure) and around 4 hours in typical conditions. Combined AC and solar charging achieves 80% in 45 minutes.
Can I use non-Anker solar panels with the C2000 Gen 2?
Yes, according to published specifications. The C2000 Gen 2 accepts panels via its XT60i input connector within the 11-60V range. Third-party panels with MC4 connectors work with an MC4-to-XT-60 adapter (sold separately by Anker as A24V7011 for $29.99). Verify that panel open-circuit voltage does not exceed 60V to avoid controller damage.
Should I wire two PS400 panels in series or parallel for the C2000 Gen 2?
Parallel is the only safe option. It keeps voltage within the 60V ceiling while combining current for a total of approximately 800W. Series wiring with two PS400 panels pushes voltage above the 60V limit and risks destroying the MPPT controller. The C2000 Gen 2 has a single solar port, so the two panels must join through a Y-combiner cable before the XT60i input.
Can the BP2000 Gen 2 expansion battery increase solar input?
The BP2000 Gen 2 doubles total capacity to 4,096Wh but does not change the solar input ceiling. The C2000 Gen 2 remains limited to 800W of solar input regardless of whether the expansion battery is connected. What changes is total charge time to fill the expanded 4,096Wh system: at 800W input this takes about 6 hours of strong sun in the best case and around 8.5 hours in typical conditions.
Are the 440W Rigid solar panels compatible with the C2000 Gen 2?
Yes, the 440W Rigid panels (SKU B6100119, $999 for a pair) are compatible with the C2000 Gen 2 via the XT60i MPPT input. Never wire two of them in series: their combined open-circuit voltage exceeds the 60V limit. For most users, connecting the pair in parallel (880W nominal, capped at 800W by the station) is the safest configuration. Rigid panels are better suited to fixed installations than portable use given their size and weight.
Conclusion: Which Setup Should You Choose?
The right solar configuration for the C2000 Gen 2 depends on how you use it. For camping and van life where portability matters: one PS400 keeps the battery topped up day to day with a single foldable panel. For faster charging without breaking the bank: two PS400s wired in parallel deliver up to 800W and a full charge in about 3 hours in ideal sun, around 4 in typical conditions. For fixed van rooftops or off-grid cabins: a pair of 440W rigid panels at $999 in parallel saturates the 800W ceiling and charges the station in about 3 hours in ideal sun. Connecting a BP2000 Gen 2 ($599) adds runtime depth without changing the solar equation.
The C2000 Gen 2’s solar setup remains flexible: you can start with one panel and add a second in parallel later without changing your core setup. The official C2000 Gen 2 product page includes current compatibility details and bundle options.

Anker SOLIX C2000 Gen 2
$799.99
Best mid-range solar-ready power station 2026
Price verified April 2026. Free shipping available
Originally published: April 6, 2026