
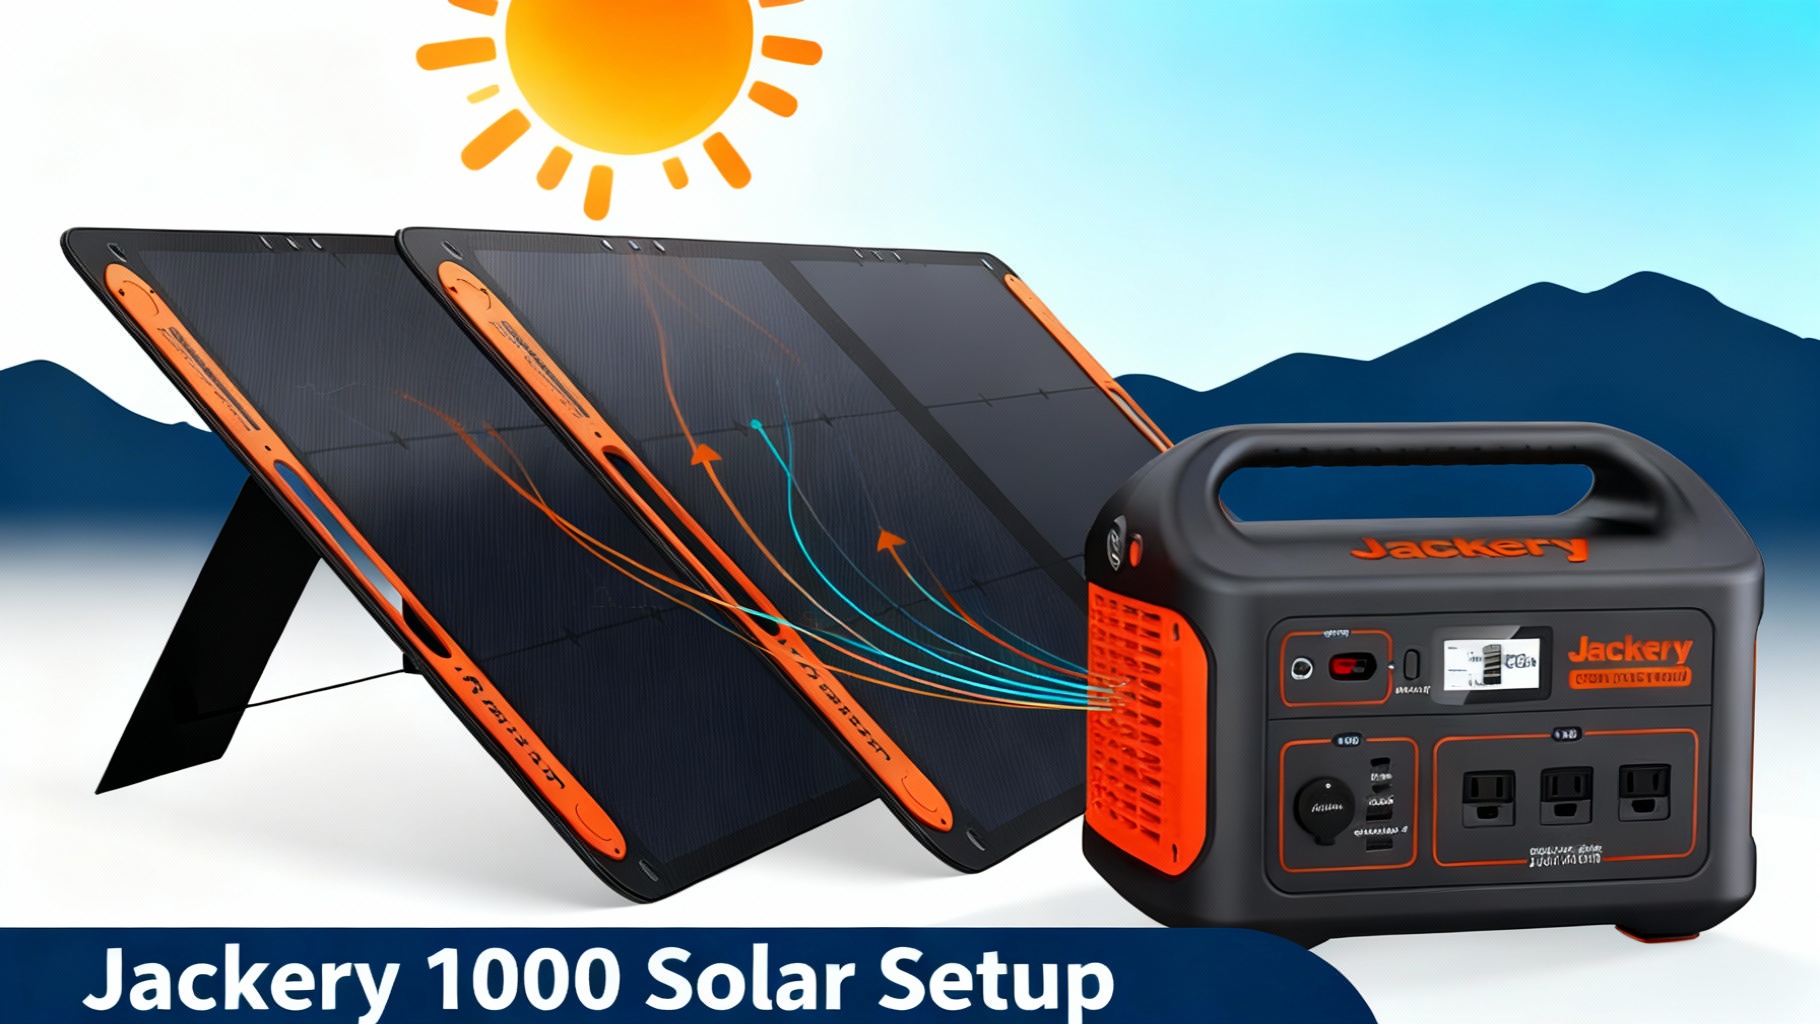
 Explorer 1000 portable power station connected to two SolarSaga 100W solar panels in outdoor camping setup” />
You're three days into a perfect camping trip when your phone dies. Then your laptop. The Jackery Explorer 1000 sitting in your tent? Down to 15%. You have two brand-new solar panels leaning against a tree, still in their boxes, because you weren't sure how to set them up.
Here's the thing: connecting solar panels to your Explorer 1000 isn't complicated. If you can plug in a laptop or charge your phone, you can do this. The entire setup takes about 30 minutes, and I'll walk you through every single step with photos and detailed instructions.
By the end of this guide, you'll know exactly which cables you need, how to position your panels for maximum charging speed, and what to do when things don't work as expected. You'll also learn the common mistakes that slow down charging (or stop it completely) and how to avoid them.
Let's get your Explorer 1000 charging with solar power.
🔋 Ready to Set Up Solar Charging?
The Explorer 1000 v2 now features faster charging (1 hour emergency charge), 1070Wh capacity, and 1500W output with 50% power boost.
What You'll Need (Materials & Tools)
Before we dive into the setup process, let's make sure you have everything required. Missing even one small adapter can stop the entire project, so take a few minutes to gather your materials.
Required Equipment
The Explorer 1000 is Jackery's mid-range portable power station with a 1,002Wh capacity and a 1,000W pure sine wave inverter. It's designed to run mini-fridges, laptops, CPAP machines, and other essential devices during camping trips or power outages.
For solar charging, you'll need the power station itself plus compatible solar panels. The Explorer 1000 accepts 12-30V DC input with a maximum solar input of 200W. This means you can connect up to two 100W panels (or equivalent) to reach the maximum charging speed.

Jackery Explorer 1000
This is your main power station. It weighs 22 pounds and features an LCD display that shows battery percentage, input wattage, and output wattage. The solar input port is located on the side of the unit, protected by a rubber cover with a clear “solar panel” icon.

SolarSaga 100W Panels
Jackery's SolarSaga 100W panels are specifically designed to work with their power stations. Each panel produces up to 100W in optimal conditions. Two panels are recommended if you plan to charge regularly or need quick turnaround between uses.
MC4 to 8mm adapter cable – This cable comes included with SolarSaga panels. One end has MC4 connectors (the standard solar panel connector type), and the other end has an 8mm barrel plug that fits the Explorer 1000's solar input port. This adapter is your translator between the solar panel's language and the power station's language.
Extension cables (optional) – If you need to position your panels far from your power station (to keep the Explorer 1000 in shade while panels are in sun), you can add extension cables. Make sure any extensions maintain the 12-30V voltage range.
Optional But Helpful Items
These items aren't required, but they make the setup process easier and more efficient:
- A solar panel Y-branch connector lets you connect two panels in parallel to a single input on the Explorer 1000. Jackery sells their own Y-branch adapter for $69.
- A carrying bag or protective case keeps your panels safe during transport and storage.
- A multimeter is useful for troubleshooting if panels aren't charging as expected.
- Cable management clips help organize cables and prevent tripping hazards.
- Weatherproof covers protect your connections if you're charging outdoors for extended periods.
Estimated Time & Difficulty
| Item | Purpose | Where to Buy | Est. Cost |
|---|---|---|---|
| Jackery Explorer 1000 | Main power station (1002Wh capacity) | Jackery Official | $799 |
| SolarSaga 100W (x2) | Solar panels for charging | Jackery Official | $598 |
| MC4 to 8mm Cable | Connects panel to power station | Included with SolarSaga | $0 |
| Y-Branch Connector | Connect 2 panels in parallel (optional) | Jackery Accessories | $69 |
Before You Start: Safety & Preparation
Solar panels are generally safe, but following a few basic precautions prevents problems and protects your equipment.
Safety Precautions
⚠️ Important Safety Rules
- Never connect solar panels in rain or wet conditions
- Check voltage compatibility (Explorer 1000 accepts 12-30V DC input)
- Avoid reverse polarity (cables are keyed to prevent this)
- Don't exceed maximum solar input (200W for Explorer 1000)
- Keep connectors clean and dry
- Don't touch exposed metal contacts during connection
Important Preparation Steps
- Unbox Explorer 1000 and charge to at least 20% (via AC wall outlet)
- Inspect solar panel cables for damage
- Choose optimal location with direct sunlight (no shade)
- Clear workspace for setup
- Have manual handy for reference
Step-by-Step Instructions
Now we're ready for the actual setup. Follow these steps in order, and don't skip ahead—each step builds on the previous one.
Step 1: Position Your Solar Panels
The first step happens before you plug in anything. Panel position dramatically affects charging speed, so spending an extra five minutes on positioning pays off with faster charging throughout the day.

Place your SolarSaga panels in direct sunlight. Look for a spot with no shadows from trees, buildings, vehicles, or other objects. Even partial shade reduces output significantly. The best spot has clear sky overhead for at least 4-6 hours.
Angle panels toward the sun. For most locations in the United States, panels should face south (in the Northern Hemisphere) with a 30-45° tilt. The SolarSaga panels have built-in kickstands that let you adjust the angle easily. In winter, increase the angle to 45°; in summer, decrease to 30°.
📐 Optimal Panel Angles by Season
Use the built-in kickstands to adjust tilt and lock the panels in place. Leave 6-12 inches of space between panels if you're using two panels. This spacing allows airflow to keep panels cool (hot panels are less efficient) and gives you room to access cables.
✅ Success Indicator: You'll know it's correct when panels are stable on their kickstands, facing directly toward the sun with no visible shadows on the panel surface. The panel surface should feel warm (but not hot) to the touch after a few minutes in sun.
Step 2: Locate the Solar Input Port on Explorer 1000

The Explorer 1000's solar input port is on the right side of the unit when you're facing the control panel. It's covered by a rubber cap with a clear solar panel icon embossed on it.
Flip open the rubber cover by pulling gently on the small tab. The cover is attached to the unit, so it won't fall off or get lost. Inside, you'll see a small circular port—this is your 8mm DC input port that accepts the solar cable.
The port accepts only the 8mm barrel plug from the included adapter cable. Take note of the LCD display on the front of the Explorer 1000. Once we connect solar panels, this display will show input wattage in real-time, letting you verify charging is working.
✅ Success Indicator: The rubber cover is fully open, the solar input port is visible and clear of debris, and you can easily access it without moving the entire unit.
Step 3: Connect One Panel First (Test Connection)
Before connecting multiple panels, start with just one to verify everything works. This approach makes troubleshooting easier if something goes wrong.
🔌 Connection Diagram: Single Panel Setup
Take the MC4 to 8mm adapter cable that came with your SolarSaga panel. This cable has MC4 connectors on one end (male and female connectors that twist-lock together) and an 8mm barrel plug on the other end.
Connect the MC4 connectors to your first solar panel. The connectors only fit one way—male to female, positive to positive, negative to negative. Push the connectors together firmly, then twist the locking collar clockwise until it clicks. You should feel resistance when trying to pull them apart—that's correct.
Insert the 8mm barrel plug into the Explorer 1000's solar input port. Push firmly until you feel it seat completely. The plug should be snug but not difficult to insert.
Watch the LCD display on the Explorer 1000. Within 3-5 seconds, you should see the input wattage number change from “0W” to a positive number. With one SolarSaga 100W panel in good sun, expect to see 60-85W input (not the full 100W—we'll explain why in the troubleshooting section).
✅ Success Indicator: The LCD display shows input wattage, the input icon (small solar panel symbol) is illuminated on the screen, and the battery percentage starts slowly increasing. You might also hear a faint clicking sound when charging begins—this is the MPPT controller activating.
🏆 Upgrade to Faster Charging
The Explorer 1000 v2 bundle with 2x SolarSaga 100W panels charges in just 5-6 hours (vs 9-10 hours with single panel). Save time and get back to full power faster.
View Complete Bundle →
Bundle saves $260 vs buying separately
Step 4: Add a Second Panel (If Using Multiple Panels)
If you're using only one panel, you're done with connections. If you have a second panel and want faster charging, here's how to add it.
You need a Y-branch connector to combine two panels into a single input. This connector has two MC4 inputs (one for each panel) and one MC4 output (that connects to your adapter cable).
⚡ Dual Panel Setup: Parallel Connection
Disconnect the first panel temporarily by twisting the MC4 connector counterclockwise and pulling apart. Leave the 8mm plug connected to the Explorer 1000.
Connect the Y-branch connector's output to your adapter cable (the cable that's already plugged into the Explorer 1000). Lock it in place by twisting clockwise.
Connect both panels to the Y-branch inputs. Panel 1 connects to one side, Panel 2 connects to the other side. Make sure both connections are fully locked.
Check the LCD display again. With two panels in good sun, expect to see 120-170W input. The exact number depends on sun angle, cloud cover, and panel temperature. The maximum you'll see is 200W because that's the Explorer 1000's built-in limit.
✅ Success Indicator: Input wattage roughly doubles compared to one panel (allowing for real-world conditions), both panels are producing power, and all connections feel secure when you gently tug on cables.
Step 5: Verify Charging Is Working Properly
Now that everything is connected, take a few minutes to verify charging is working as expected.
Check the LCD display's input wattage. Is it stable, or does it fluctuate wildly? Small fluctuations (±10W) are normal as clouds pass or the sun angle shifts slightly. Large fluctuations or dropping to zero indicates a connection problem or shadow issue.
Verify the battery percentage is increasing. Watch the display for 2-3 minutes. Even with just one panel, you should see the percentage increase by at least 1% every 5-10 minutes (the exact rate depends on how much power you're drawing and how much solar input you're receiving).
Check that all cables are secured and not under tension. Cables pulling tight can stress connections and cause intermittent disconnections. If needed, reposition the power station or panels slightly to reduce cable tension.
Feel the back of the power station near the solar input port. It should feel slightly warm (not hot) during charging. This warmth indicates the internal charging circuitry is active and processing solar input.
✅ Success Indicator: The display shows steady input wattage, battery percentage increases over time, all cables feel secure, and the unit operates quietly without error beeps or warning lights.
Step 6: Optimize Panel Angle Throughout the Day
Solar charging isn't a set-it-and-forget-it process. The sun moves across the sky, so panel angle that's optimal at 10am is suboptimal by 2pm.
For maximum charging speed, adjust panel angle every 2-3 hours to track the sun. You don't need to be precise—small adjustments of 15-20° can increase power output by 20-30%.
Watch the input wattage on the LCD display as you adjust the angle. Tilt the panel slowly and watch the wattage number. When you see the number peak, lock the panel at that angle. This real-time feedback makes it easy to find the optimal position.
💡 Pro Tip: The highest wattage reading equals the optimal angle. You can gain 20-30W just by adjusting angle properly. Set a reminder on your phone to adjust every 2-3 hours during active charging.
Step 7: Monitor Charge Progress and Disconnect When Full
The Explorer 1000 takes different amounts of time to fully charge depending on how many panels you're using and how much sun you're getting.
| Panel Configuration | Optimal Sun | Real-World | Best For |
|---|---|---|---|
| 1x SolarSaga 100W | 9-10 hours | 12-14 hours | Overnight charging, backup |
| 2x SolarSaga 100W | 5-6 hours | 7-8 hours | Daily camping use |
| 2x SolarSaga 200W | 2.5-3 hours | 3.5-4.5 hours | Heavy users, rapid recharge |
The LCD display shows both input wattage (how fast power is coming in) and battery percentage (how full the battery is). You can use these numbers to estimate remaining charge time.
When the battery reaches 100%, the input wattage will drop to near zero or zero. This is normal—the battery management system stops accepting charge to prevent overcharging. You can leave panels connected without harm, but there's no benefit to keeping them connected once charging completes.
Disconnect panels by reversing the connection process. First, twist MC4 connectors counterclockwise to unlock. Then pull apart firmly (they'll have some resistance). Finally, remove the 8mm plug from the Explorer 1000 and close the rubber cover to protect the port.
✅ Success Indicator: Battery percentage reaches 100%, input wattage drops to zero, the charge complete icon appears on the display, and panels are safely stored away from potential damage.
Verification & Testing: Is It Working Correctly?
After completing the setup, run through this quick verification checklist to ensure everything is working as it should.
✓ Quick Verification Checklist
If everything checks out, congratulations! Your solar charging system is working correctly.
Common Problems and How to Fix Them
Even with perfect setup, you might encounter issues. Here are the most common problems and their solutions.
🔧 Quick Troubleshooting Flowchart
Problem 1: No Charging (0W Input on Display)
Symptoms: LCD display shows 0W input, battery percentage not increasing, no solar input icon on display.
Most likely causes: Panels not in direct sunlight, loose connection at MC4 connectors or 8mm plug, panels connected during nighttime or very low light, defective cable or damaged connector.
Solutions:
- Move panels into direct, unobstructed sunlight
- Disconnect and reconnect all connections, ensuring they click/lock into place
- Check that the rubber cover on the Explorer 1000's solar port is fully open
- Try disconnecting and reconnecting the 8mm plug—push firmly until fully seated
- Test panels individually to identify if one panel is faulty
Problem 2: Low Charging Speed (Much Lower Than Expected)
Symptoms: Input wattage is 30-50% lower than you expected based on panel ratings and number of panels.
Most likely causes: Panels not angled toward the sun optimally, partial shading on one or more panels, dirty panel surface blocking light, hot ambient temperature reducing panel efficiency, charging during morning or late afternoon when sun is weaker.
Solutions:
- Adjust panel angle while watching LCD display—find the angle that maximizes input wattage
- Walk around panels and look for shadows; reposition if needed
- Clean panel surface with a damp cloth (disconnect first for safety)
- Improve airflow around panels to keep them cooler
- Wait until solar noon (approximately 12pm-2pm local time) for best charging speed
Problem 3: Intermittent Charging (Wattage Drops to Zero Randomly)
Symptoms: Charging works for a few minutes, then stops. Input wattage fluctuates wildly. Battery percentage increases inconsistently.
Solutions:
- Check all MC4 connections—they should require firm twisting force to disconnect
- Secure panels more firmly using rocks or sandbags if necessary
- Test without the Y-branch connector (use just one panel) to isolate whether the Y-branch is the problem
- Replace any damaged cables (visual inspection for frayed wires or cracked connectors)
Pro Tips for Optimal Performance
Once you've mastered the basics, these advanced tips help you squeeze every last watt out of your solar setup.
💡 Tip 1: Angle Adjustment
The highest wattage reading equals the optimal angle. Set a reminder to adjust every 2-3 hours. You can gain 20-30W just by fine-tuning angle properly.
🧼 Tip 2: Clean Panels
Wipe panel surfaces with damp microfiber cloth before each trip. Dust and dirt reduce output by 10-15%. Don't use cleaning chemicals—water is sufficient.
🌳 Tip 3: Shade the Station
Keep Explorer 1000 in shade while panels are in sun. Use extension cables if needed. Direct sunlight heats the case, reducing charging efficiency.
🔀 Tip 4: Parallel Connection
Always connect panels in parallel (both positive together). Never use series connection—it doubles voltage and exceeds the 30V limit.
🌤️ Tip 5: Monitor Weather
Check forecast before relying on solar. Overcast days provide only 10-30% of full sun's energy. Plan 2-3 sunny days per day of heavy usage.
⚡ Tip 6: Pass-Through Tradeoff
You can charge while powering devices, but net charging speed decreases. For fastest charging, disconnect all devices during solar charging.
⚡ Upgrade to Premium Solar Solution
The Complete Solar Generator Bundle includes Explorer 1000 v2 + 2x SolarSaga 100W panels + Y-branch connector + carrying case. Everything you need for professional-grade solar charging.
Frequently Asked Questions
Can I use third-party solar panels with the Jackery Explorer 1000?
Yes, but verify compatibility first. The Explorer 1000 accepts 12-30V DC input with maximum 200W. Ensure your panels have MC4 connectors (standard) or purchase an adapter. Voltage outside the 12-30V range will not charge (or may damage) the unit. For best results and warranty protection, use Jackery SolarSaga panels.
How long does it take to fully charge the Explorer 1000 with solar panels?
With 1x SolarSaga 100W panel: 9-10 hours in optimal sun. With 2x SolarSaga 100W panels: 5-6 hours in optimal sun. With 2x SolarSaga 200W panels: 2.5-3 hours in optimal sun. Real-world conditions (partial clouds, non-optimal angle) typically add 30-50% to these times.
Can I charge the Explorer 1000 with solar panels while using it to power devices?
Yes, this is called pass-through charging and the Explorer 1000 supports it fully. Solar input goes to battery first, then powers connected devices. If solar input exceeds device draw, battery charges. If device draw exceeds solar input, battery supplements the difference. Just know that using devices while charging slows net charging speed.
What's the maximum number of solar panels I can connect?
The Explorer 1000 has a maximum solar input of 200W. You can connect as many panels as you want (using appropriate Y-branch connectors), but total combined wattage shouldn't exceed 200W. Two SolarSaga 100W panels reaches this maximum. Adding more panels won't charge faster—the internal MPPT controller limits input to 200W.
Why am I not getting the full rated wattage from my panels?
Solar panels are rated under ideal laboratory conditions (1000W/m² sun intensity, 25°C temperature, perfect angle). Real-world conditions are rarely ideal. Expect 65-85% of rated wattage in good field conditions. Factors include sun angle, cloud cover, panel temperature, cleanliness, and time of day. Getting 85W from a 100W panel is normal and acceptable.
Can I charge in cloudy weather or indirect sunlight?
Yes, but expect much slower charging. Cloudy days provide only 10-30% of clear sky charging speed. A 5-hour charge time might extend to 15-20 hours under heavy clouds. Indirect sunlight (panels in shade but with bright open sky) provides 30-50% of full sun charging. For fastest charging, wait for clear, sunny weather.
Do I need to disconnect solar panels when not in use?
Not required but recommended. The Explorer 1000 automatically stops charging when the battery is full, so leaving panels connected won't damage anything. However, disconnecting and storing panels protects them from weather, prevents cable connector corrosion, and reduces the chance of accidental damage. It takes 30 seconds to disconnect and could extend equipment lifespan by years.
What if my panels get wet in the rain?
Disconnect immediately and dry all connectors before using again. The panels themselves are water-resistant and can handle rain, but exposed cable connectors can corrode if they stay wet. After rain stops, wipe connectors dry and inspect for corrosion before reconnecting. Never connect wet cables to the Explorer 1000.
Can I charge and discharge at the same time without damaging the battery?
Yes, the Explorer 1000 is specifically designed for simultaneous charge and discharge (pass-through charging). This doesn't harm the battery or shorten its lifespan. In fact, the battery management system handles this automatically and protects against overcharging or over-discharging regardless of whether you're charging, discharging, or both.
How do I know if my MPPT controller is working correctly?
The MPPT controller is built into the Explorer 1000 and works automatically—you don't need to configure or adjust anything. You'll know it's working if the input wattage shown on the display is within 60-90% of your panels' rated wattage (accounting for real-world conditions). If you're getting less than 50% of rated wattage in good sun with optimal angle, there may be an issue. Try disconnecting and reconnecting or contact Jackery support.
Conclusion
Congratulations! You've successfully set up solar charging for your Jackery Explorer 1000. What seemed complicated at first turned out to be pretty straightforward—connect the cables, position the panels, and watch the power flow in.
The setup process you just completed gives you true energy independence. Whether you're camping in remote locations, preparing for power outages, or just trying to reduce your reliance on grid power, you now have the knowledge and skills to keep your power station charged wherever the sun shines.
Remember the key principles: panels need direct sunlight (no shade), angle matters more than most people think (adjust every few hours for best results), and cleanliness counts (wipe panels regularly). Follow these basics and your solar charging will work reliably for years.
The most common mistakes—loose connections, suboptimal angles, and partial shading—are now things you know how to avoid and fix. When problems come up (and they will occasionally), you have a troubleshooting process that helps you identify and solve issues quickly.

Start with your first solar charging session on a sunny day. Set everything up following these steps, then just watch it work. There's something satisfying about seeing that input wattage number climb on the display, knowing you're capturing free energy from the sun.
Once you get comfortable with the basic setup, you'll naturally start optimizing—adjusting angles without thinking about it, positioning panels intuitively, and troubleshooting issues before they become problems. Solar charging becomes second nature.
🌟 Ready to Experience True Off-Grid Freedom?
The Jackery Explorer 1000 v2 + Solar Bundle gives you everything needed for professional solar charging. Trusted by over 2 million users worldwide for reliable off-grid power.
✓ Free Shipping | ✓ 5-Year Warranty | ✓ 30-Day Money-Back Guarantee | ✓ Save $260 Bundle Discount
Your next camping trip will be different. Instead of rationing battery power and stressing about running out, you'll wake up to a fully charged Explorer 1000 thanks to the previous day's sun. That peace of mind? Worth the 30 minutes you spent learning this setup.
Now get out there and put your new solar charging skills to use. The sun is waiting.
Related Reads
Originally published: December 9, 2025