
You've got two or three solar panels sitting next to your Jackery or Bluetti power station, and you're wondering: should I connect them in series or parallel? It's one of those questions that sounds simple but actually makes a huge difference in how fast your battery charges and how well your system performs.
Here's the thing – connecting panels the wrong way can cost you 15-30% of your charging efficiency, or worse, leave you with a system that doesn't charge at all. But get it right, and you'll maximize every ray of sunlight hitting those panels.
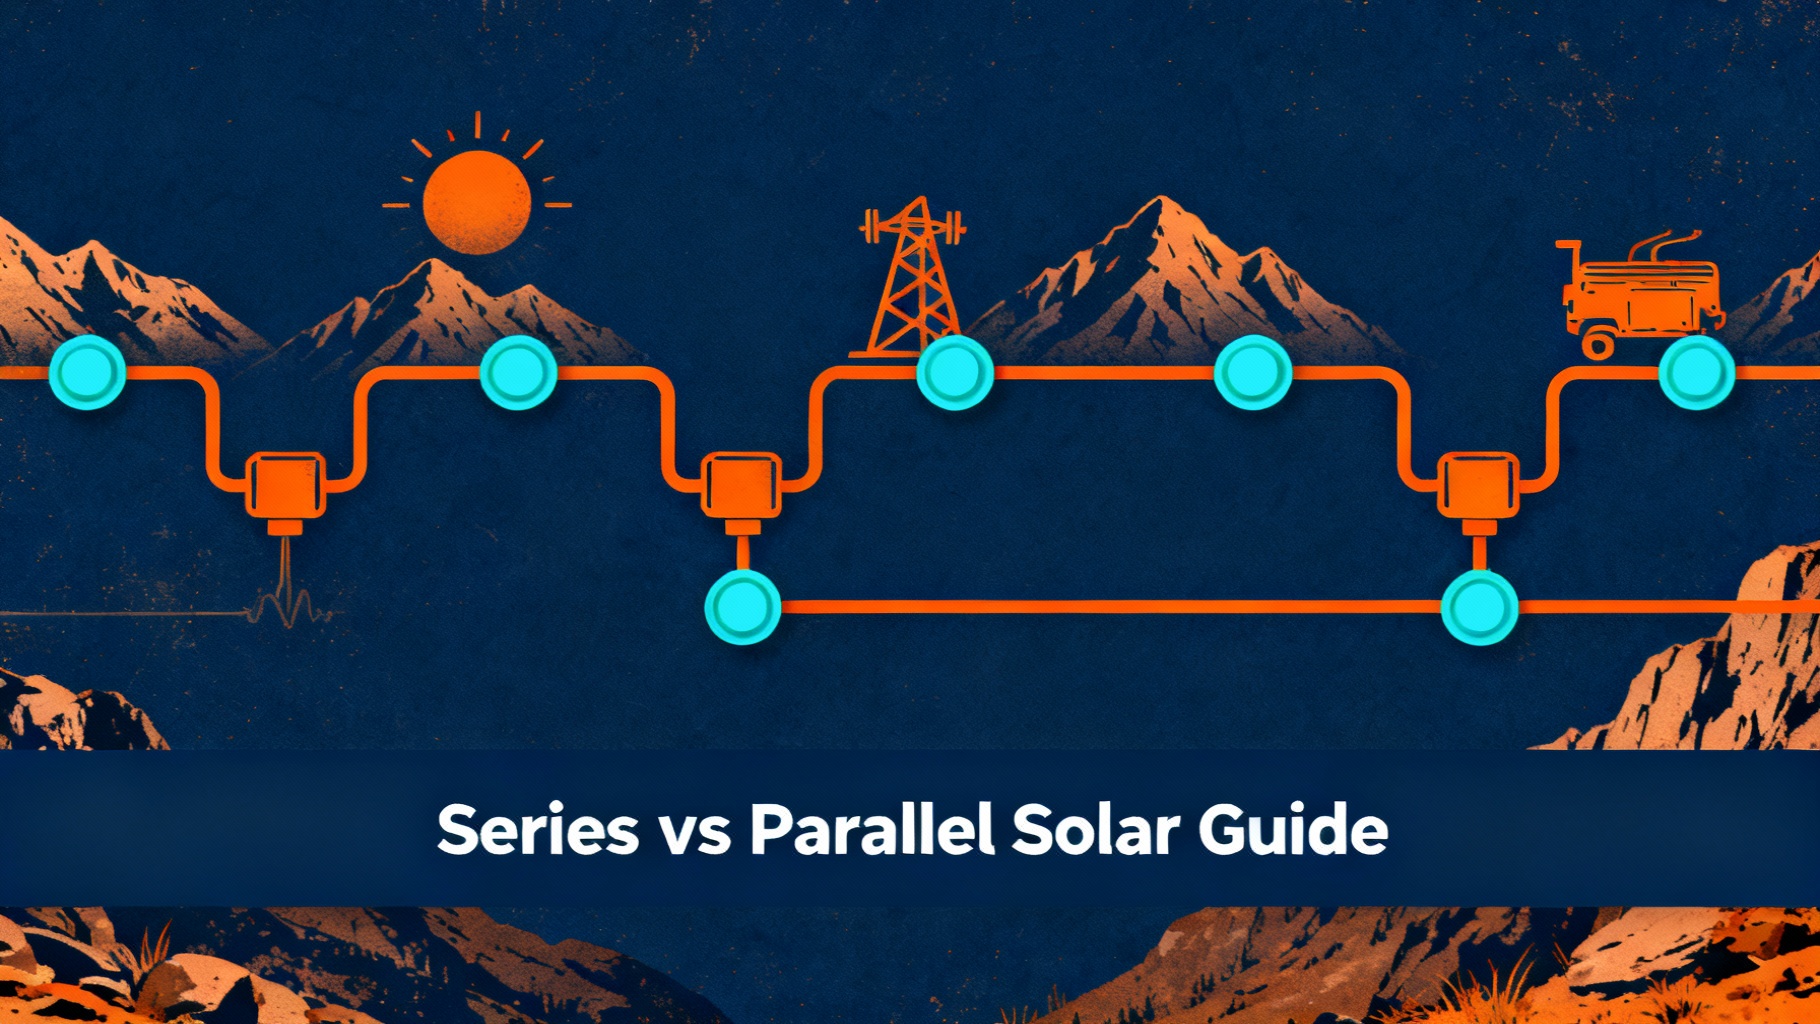
By the end of this guide, you'll understand exactly how series and parallel configurations work, when to use each one, and how to wire your specific setup for optimal performance. We'll use real examples with actual Jackery and Bluetti models, walk through the math (don't worry, it's straightforward), and show you exactly what to do.
🏆 Our Top Pick for Series/Parallel Flexibility
Jackery Explorer 2000 Plus – Perfect for multi-panel setups
- 2,042Wh capacity with 3,000W output
- 35-60V MPPT window (optimal for 2-3 panels in series)
- Up to 1,200W solar input
- Expandable capacity with battery packs
$1,999 | Free shipping | Tax credit eligible
What Is Series vs Parallel Configuration? (The Simple Answer)
Think of connecting solar panels like connecting batteries in a flashlight or remote control. You have two basic options: chain them end-to-end, or line them up side-by-side.
Series configuration means connecting panels end-to-end – the positive terminal of one panel connects to the negative terminal of the next. When you do this, the voltage adds up while amperage stays constant. Two 18V panels in series give you 36V.
Parallel configuration means connecting panels side-by-side – all positive terminals connect together, and all negative terminals connect together. With parallel, amperage adds up while voltage stays constant. Two 5.5A panels in parallel give you 11A.
Series vs Parallel: Quick Comparison
⚡ Series Configuration
Chained end-to-end
- Voltage: Adds up (18V + 18V = 36V)
- Amperage: Stays same (5.5A)
- Best for: MPPT optimization
- Weakness: Shade bottleneck
⚡ Parallel Configuration
🔋
Side-by-side
- Voltage: Stays same (18V)
- Amperage: Adds up (5.5A + 5.5A = 11A)
- Best for: Shade resilience
- Weakness: Low voltage for MPPT
Both deliver the same total wattage – just distributed differently


Here's a simple way to remember it: Series boosts voltage (electrical pressure), parallel boosts amperage (electrical flow). Both configurations deliver the same total wattage, just distributed differently.
For your Jackery or Bluetti power station, this matters because the built-in charge controller has specific requirements. It needs voltage within a certain range to work efficiently – typically somewhere between 35V and 60V for most portable power stations. Too low, and you lose efficiency. Too high, and the system shuts down to protect itself.
Why Solar Panel Configuration Matters for Jackery & Bluetti Users
Real-World Impact: Charging Speed Optimization
The difference between good and bad configuration shows up immediately in charging speed. Here's why: most modern portable power stations use MPPT charge controllers, which work best within a specific voltage window.
Take the Jackery Explorer 2000 Plus as an example. It accepts 35-60V solar input and can handle up to 1,200W. If you connect a single SolarSaga 100W panel (18V), you're below the MPPT sweet spot. The controller still works, but it's not optimized – you might lose 15-25% efficiency compared to the rated wattage. Jackery owners should also check our Jackery solar cables and connectors guide for the exact adapters and wiring required when combining multiple panels.
But connect two of those panels in series (36V), and you're right in the optimal range. We're talking about real time savings: charging from 0 to 80% might take 2.5 hours in series versus 3 hours or more with a single panel. That extra 30+ minutes matters when weather windows are limited.
⚠️ Important: The math is straightforward – higher voltage in the optimal range means the MPPT controller extracts maximum power from your panels. Below that range, it's like running your car in second gear on the highway. It works, but you're not getting optimal performance.
Problem Solved: Mismatched Panel Performance
Here's where series and parallel behave very differently, and it's critical for outdoor use.
In a series configuration, your panels are only as strong as the weakest link. If one panel gets shaded – maybe a tree branch, a passing cloud, or your camping neighbor parks their RV in front of it – the entire string's output drops dramatically. Think of it like a garden hose: pinch it anywhere, and the whole flow reduces.
Parallel configuration treats each panel independently. Shade one panel, and you only lose that one panel's output. The others keep producing at full capacity. For van lifers or RV users who often deal with partial shading, this independence is valuable.
Let's quantify it. Say you have three 100W panels in series producing 300W total. One panel gets 50% shaded. Your output might drop to 150W or less – the shaded panel becomes a bottleneck. With the same panels in parallel, one getting 50% shaded means you're still getting 250W from the other two plus 50W from the shaded one.
The Science Behind Series & Parallel: How It Actually Works
Understanding Voltage, Amperage & Wattage
Before we dive into wiring, let's nail down what these three terms actually mean. Getting this right makes everything else crystal clear.
For more on this, see our whole-home backup battery systems.
This relationship is crucial because it tells us something important: you can have the same wattage with different combinations of voltage and amperage. 200W could be 20V × 10A, or 40V × 5A, or 10V × 20A. Same total power, distributed differently.
The Fundamental Formula
Watts = Volts × Amps
This is the only formula you need to remember
How Series Wiring Works
Series wiring is like creating a longer pipeline. You're connecting panels end-to-end: positive terminal (+) of Panel 1 connects to negative terminal (-) of Panel 2, whose positive connects to negative of Panel 3, and so on.
Here's what happens to your electrical output:
- Voltage adds up: 18V + 18V + 18V = 54V
- Amperage stays constant: 5.5A → 5.5A → 5.5A = 5.5A
- Wattage multiplies: (18V × 3) × 5.5A = 54V × 5.5A = 297W
Series Wiring Diagram
Panel 1: 18V, 5.5A
    [+] ————————→ [-]
                   |
                   ↓
Panel 2: 18V, 5.5A
    [-] ←———————— [+]
                   |
                   ↓
Panel 3: 18V, 5.5A
    [+] ————————→ [-] → To Power Station

Result: 54V, 5.5A (297W)
Essential Accessory: Solar Panel Connector (Series)
For Jackery users, the Solar Panel Connector makes series wiring simple. This adapter allows you to connect 2-3 panels in series and plug directly into your Explorer's DC8020 input port.
$69 | Compatible with Explorer 2000 Plus, 1000 Plus, 3000 Pro

We go deeper on this in our boondocking power setup guide.
How Parallel Wiring Works
Parallel wiring is like creating multiple lanes on a highway. You're connecting all positive terminals together and all negative terminals together, giving electrons multiple paths from panels to power station.
Here's what happens to your electrical output:
- Amperage adds up: 5.5A + 5.5A + 5.5A = 16.5A
- Voltage stays constant: 18V → 18V → 18V = 18V
- Wattage multiplies: 18V × (5.5A × 3) = 18V × 16.5A = 297W
Parallel Wiring Diagram
Panel 1: 18V, 5.5A
    [+]─────┐         [-]─────┐
            |                 |
Panel 2: 18V, 5.5A
    [+]─────┤         [-]─────┤
            |                 |
Panel 3: 18V, 5.5A
    [+]─────┘         [-]─────┘
            ↓                 ↓
        To Power Station

Result: 18V, 16.5A (297W)
Essential Accessory: Parallel Connection Cable
The Anderson Y Parallel Connector lets you connect 2-3 SolarSaga panels in parallel with a simple Y-adapter design.
$19 | Compatible with SolarSaga 100 Prime panels
MPPT Charge Controllers: Why Configuration Matters
This is where everything comes together. MPPT stands for Maximum Power Point Tracking, and it's the technology that makes modern solar charging so much better than old-school PWM controllers.
Here's what MPPT does: it constantly monitors your solar panels' output and adjusts the load to extract maximum power. Solar panels have an optimal operating point where they produce peak wattage – not quite at maximum voltage and not quite at maximum current, but somewhere in between. MPPT finds and maintains that sweet spot automatically.
But MPPT controllers have an operating window – a voltage range where they work efficiently. For the Jackery Explorer 2000 Plus, that's approximately 35-60V. For Bluetti AC180, it's similar – most portable power stations fall in this range.
Related guide: our full-time RV living power guide.
MPPT Voltage Windows: What Happens
Below Window
18V
Result: MPPT can't optimize. 15-30% efficiency loss. Charging works but slower.
Inside Window
35-60V
Result: Peak MPPT efficiency. 20-30% gain vs PWM. This is the sweet spot.
Above Window
72V+
Result: Over-voltage protection triggers. Charging stops completely to protect system.
Series vs Parallel: Technical Comparison
Real-World Implementation: Connecting Your Panels
Step-by-Step: Series Connection for Jackery
Let's walk through connecting two SolarSaga 100W panels in series to a Jackery Explorer 2000 Plus.
What You Need:
- 2× SolarSaga 100W panels
- 1× Jackery Solar Panel Connector (for series)
- Explorer 2000 Plus power station
- Position panels for maximum sun exposure, angled toward the sun. Don't connect anything yet.
- Connect Panel 1's positive (+) to Panel 2's negative (-). These MC4 connectors click together.
- You now have two free leads: Panel 1's negative (-) and Panel 2's positive (+).
- Connect these to your Solar Panel Connector, which converts to DC8020.
- Plug DC8020 into your power station's solar input.
- Check display: Should show ~36V and approaching 200W in good sunlight.


⚠️ Common Mistake: Connecting positive to positive instead of positive to negative. Series means end-to-end: + to -, not + to +.
Step-by-Step: Parallel Connection for Jackery
Now let's connect two SolarSaga 100W panels in parallel.
Our solar charging for home backup covers this in detail.
What You Need:
- 2× SolarSaga 100W panels
- 1× Anderson Y Parallel Connector
- Explorer 2000 Plus power station
- Position panels for optimal sun exposure.
- Connect Panel 1's positive (+) to one positive input on Y connector.
- Connect Panel 1's negative (-) to one negative input on Y connector.
- Repeat for Panel 2: positive to positive, negative to negative on Y connector.
- Connect Y connector's output to your power station.
- Check display: Should show ~18V but approaching 200W total.
⚠️ Common Mistake: Mixing up polarity on the Y connector. Always match positive to positive, negative to negative. Mixing creates a short circuit.
Decision Framework: What Should You Choose?
Quick Decision Flowchart
📌 One Panel?
No choice needed – connect directly. You might be below MPPT optimal, but that's okay.
📌 Two Panels?
Go series. 2× 18V = 36V hits the MPPT sweet spot (35-60V) for most Jackery/Bluetti models.
📌 Three+ Panels?
Calculate first: 3× 18V = 54V (good for Explorer 2000 Plus 60V max).
4× 18V = 72V (exceeds 60V max – don't do it).
Series if total voltage under max AND in MPPT range.
Parallel if series exceeds max voltage.
Learn more in our RV solar and power station combos.
📌 Frequent Shading?
Van life, forest camping, urban? Consider parallel even if series would work. Shading resilience worth slight efficiency trade-off.
📌 Long Cable Runs (30+ feet)?
Go series. Higher voltage = less voltage drop over distance = better efficiency.
Frequently Asked Questions
What's the difference between series and parallel solar panel connections?
Series connections chain panels end-to-end (+ to -), which adds voltage while keeping amperage constant. Parallel connections link all positive terminals together and all negative terminals together, which adds amperage while keeping voltage constant. Both deliver the same total wattage, just distributed differently. Series is better for reaching optimal MPPT voltage windows, while parallel offers better resilience to partial shading.
How many solar panels can I connect in series to my Jackery?
It depends on your power station's maximum input voltage. The Explorer 2000 Plus accepts up to 60V, so with standard 18V panels, you can safely connect 3 panels in series (54V total). Four panels would be 72V – exceeding the limit. Always check your specific model's voltage window before connecting panels. The formula is simple: (number of panels × panel voltage) must be less than your power station's maximum input voltage.
Which is better for charging speed: series or parallel?
Series typically charges faster because it puts voltage in the optimal MPPT range. For example, two 18V panels in series (36V) hit the sweet spot for most Jackery models (35-60V), maximizing the charge controller's efficiency. The same panels in parallel (18V) fall below optimal voltage, losing 15-25% efficiency. However, in shading scenarios, parallel might maintain better overall output since shaded panels don't bottleneck the entire string.
Can I mix series and parallel configurations?
Yes, this is called a series-parallel hybrid configuration. You can wire pairs of panels in series (for voltage boost) and then connect those pairs in parallel with each other. For example: two pairs of panels with each pair in series (36V each), then both pairs in parallel gives you 36V at doubled amperage. This balances voltage optimization with partial shading resilience, though it requires more careful planning and compatible connectors.
What happens if I exceed my power station's maximum voltage?
Your power station's built-in protection will trigger and stop charging completely. For example, if you connect four 18V panels in series (72V total) to an Explorer 2000 Plus (60V maximum), the over-voltage protection shuts down the solar input to prevent damage to the charge controller and battery. The system won't be harmed, but you'll get zero charging until you reconfigure to stay under the maximum voltage limit.
Do I need special cables for series vs parallel connections?
For series connections with Jackery, you'll want the Solar Panel Connector ($69) which simplifies connecting 2-3 panels in series to the DC8020 input port. For parallel connections, you need a Y-parallel adapter like the Anderson Y Parallel Connector ($19) that joins multiple positive and negative leads. Most panels come with MC4 connectors standard, so the adapters handle the wiring logic. Don't try to splice or improvise connections – use proper connectors designed for solar applications.
Can I add more solar panels to my existing setup later?
Yes, but respect three limits: 1) Maximum input voltage (e.g., 60V for Explorer 2000 Plus), 2) Maximum input amperage (typically 15A), and 3) Maximum total solar input (e.g., 1,200W for Explorer 2000 Plus). When adding panels to a series configuration, ensure total voltage doesn't exceed max. When adding to parallel, ensure total amperage stays under 15A. Plan for future expansion when initially sizing your system to avoid hitting these limits.
Is series or parallel better for partial shade?
Parallel is significantly better for partial shade scenarios. In series, shading one panel creates a bottleneck that reduces the entire string's output – potentially dropping from 300W to 150W if one panel gets 50% shaded. In parallel, each panel operates independently, so shading one panel only loses that panel's contribution. You'd get 250W from two unshaded panels plus 50W from the shaded one = 300W total. For van life, forest camping, or urban environments where consistent full sun isn't guaranteed, parallel's resilience often outweighs series' voltage advantage.
What's the optimal MPPT voltage range for Jackery power stations?
Most Jackery Explorer models including the 2000 Plus, 1000 Plus, and 3000 Pro have an optimal MPPT input range of approximately 35-60V. Below 35V, the charge controller operates less efficiently, losing 15-30% potential charging speed. Within 35-60V, you get peak MPPT performance with maximum power extraction. Above 60V triggers over-voltage protection and stops charging entirely. This is why two or three 18V panels in series (36-54V) work optimally, while a single panel (18V) or four panels (72V) don't.
Can I connect different wattage panels in series or parallel?
You can, but it's not recommended, especially for series. In series, different wattage panels (which typically means different amperage) create bottlenecks – the string can only flow as much current as the weakest panel allows. A 100W panel (5.5A) paired with a 200W panel (11A) in series will only produce 5.5A total, wasting the 200W panel's capacity. Parallel is more forgiving with mixed panels since each operates independently, but you'll still get unbalanced output. For best performance, always use identical panels – same brand, model, and wattage.
Conclusion: Getting It Right Matters
Series and parallel configurations aren't just technical details – they're the difference between extracting 70% or 95% of your solar panels' potential. Get it right, and your power station charges quickly even on partly cloudy days. Get it wrong, and you're left wondering why your expensive panels seem to underperform.
The key principles are simple: Series boosts voltage and works best when you need to reach your MPPT controller's optimal window. Parallel boosts amperage and shines when shading is a concern or you're already at good voltage.
For most Jackery and Bluetti users, the sweet spot is two to three panels in series. This configuration hits the 35-60V optimal range for MPPT controllers, maximizes charging speed, and keeps you under maximum voltage limits. If you're regularly dealing with partial shade, parallel makes more sense despite the efficiency trade-off.
🏆 Complete Your Optimal Solar Setup
Jackery Explorer 2000 Plus + SolarSaga 200W (2 Panels)
- Perfect voltage match: 2× panels in series = optimal MPPT
- Fast charging: 0-80% in 2.5 hours with solar
- Expandable system: Add battery packs for 2-24kWh capacity
- Complete kit: Power station + 2× 200W solar panels
View Complete Solar Generator Kit →
$3,099 | Free shipping | 3-year warranty + 2-year extension
Before you connect anything, check three numbers: your panels' voltage and amperage, your power station's MPPT input window, and the maximum input voltage. Make sure your configuration lands you in the optimal window without exceeding any limits.
The math is straightforward, the wiring is simple, and the performance gains are substantial. Whether you're weekend camping or living off-grid full-time, proper solar panel configuration is one of the best ways to get more power from the sun. For a real-world example, see how we optimized our Jackery 2000 Plus solar charging setup.
Visit Solar Charging Knowledge Hub →
Originally published: December 8, 2025